
Power Steering Line Routing On The FC3S
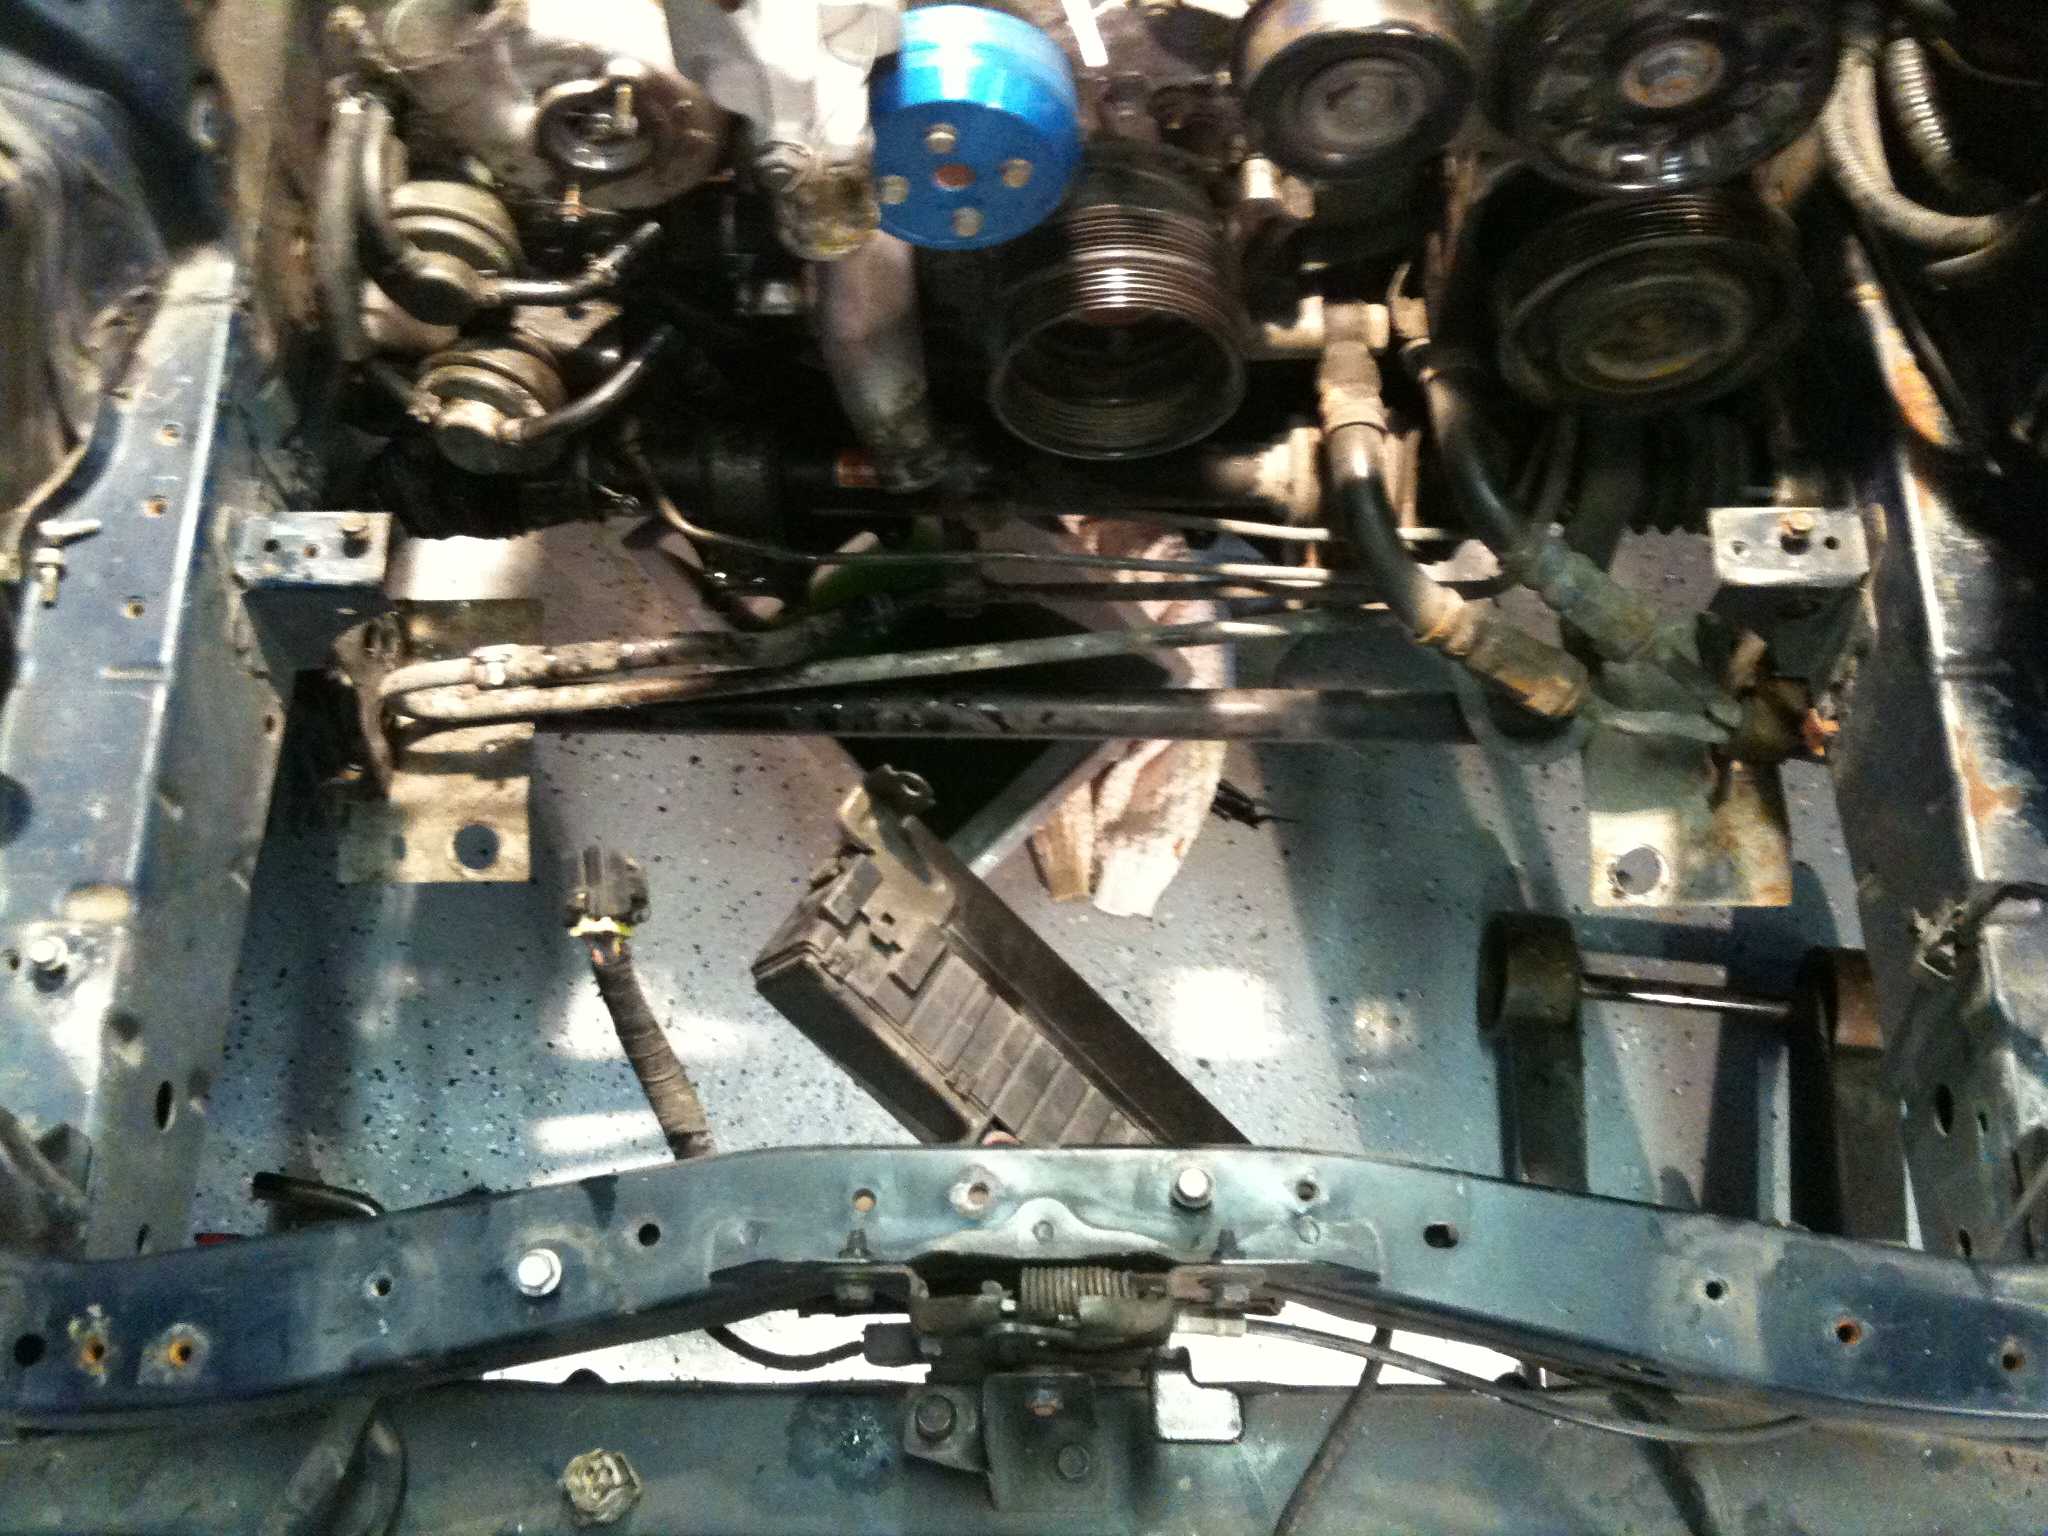
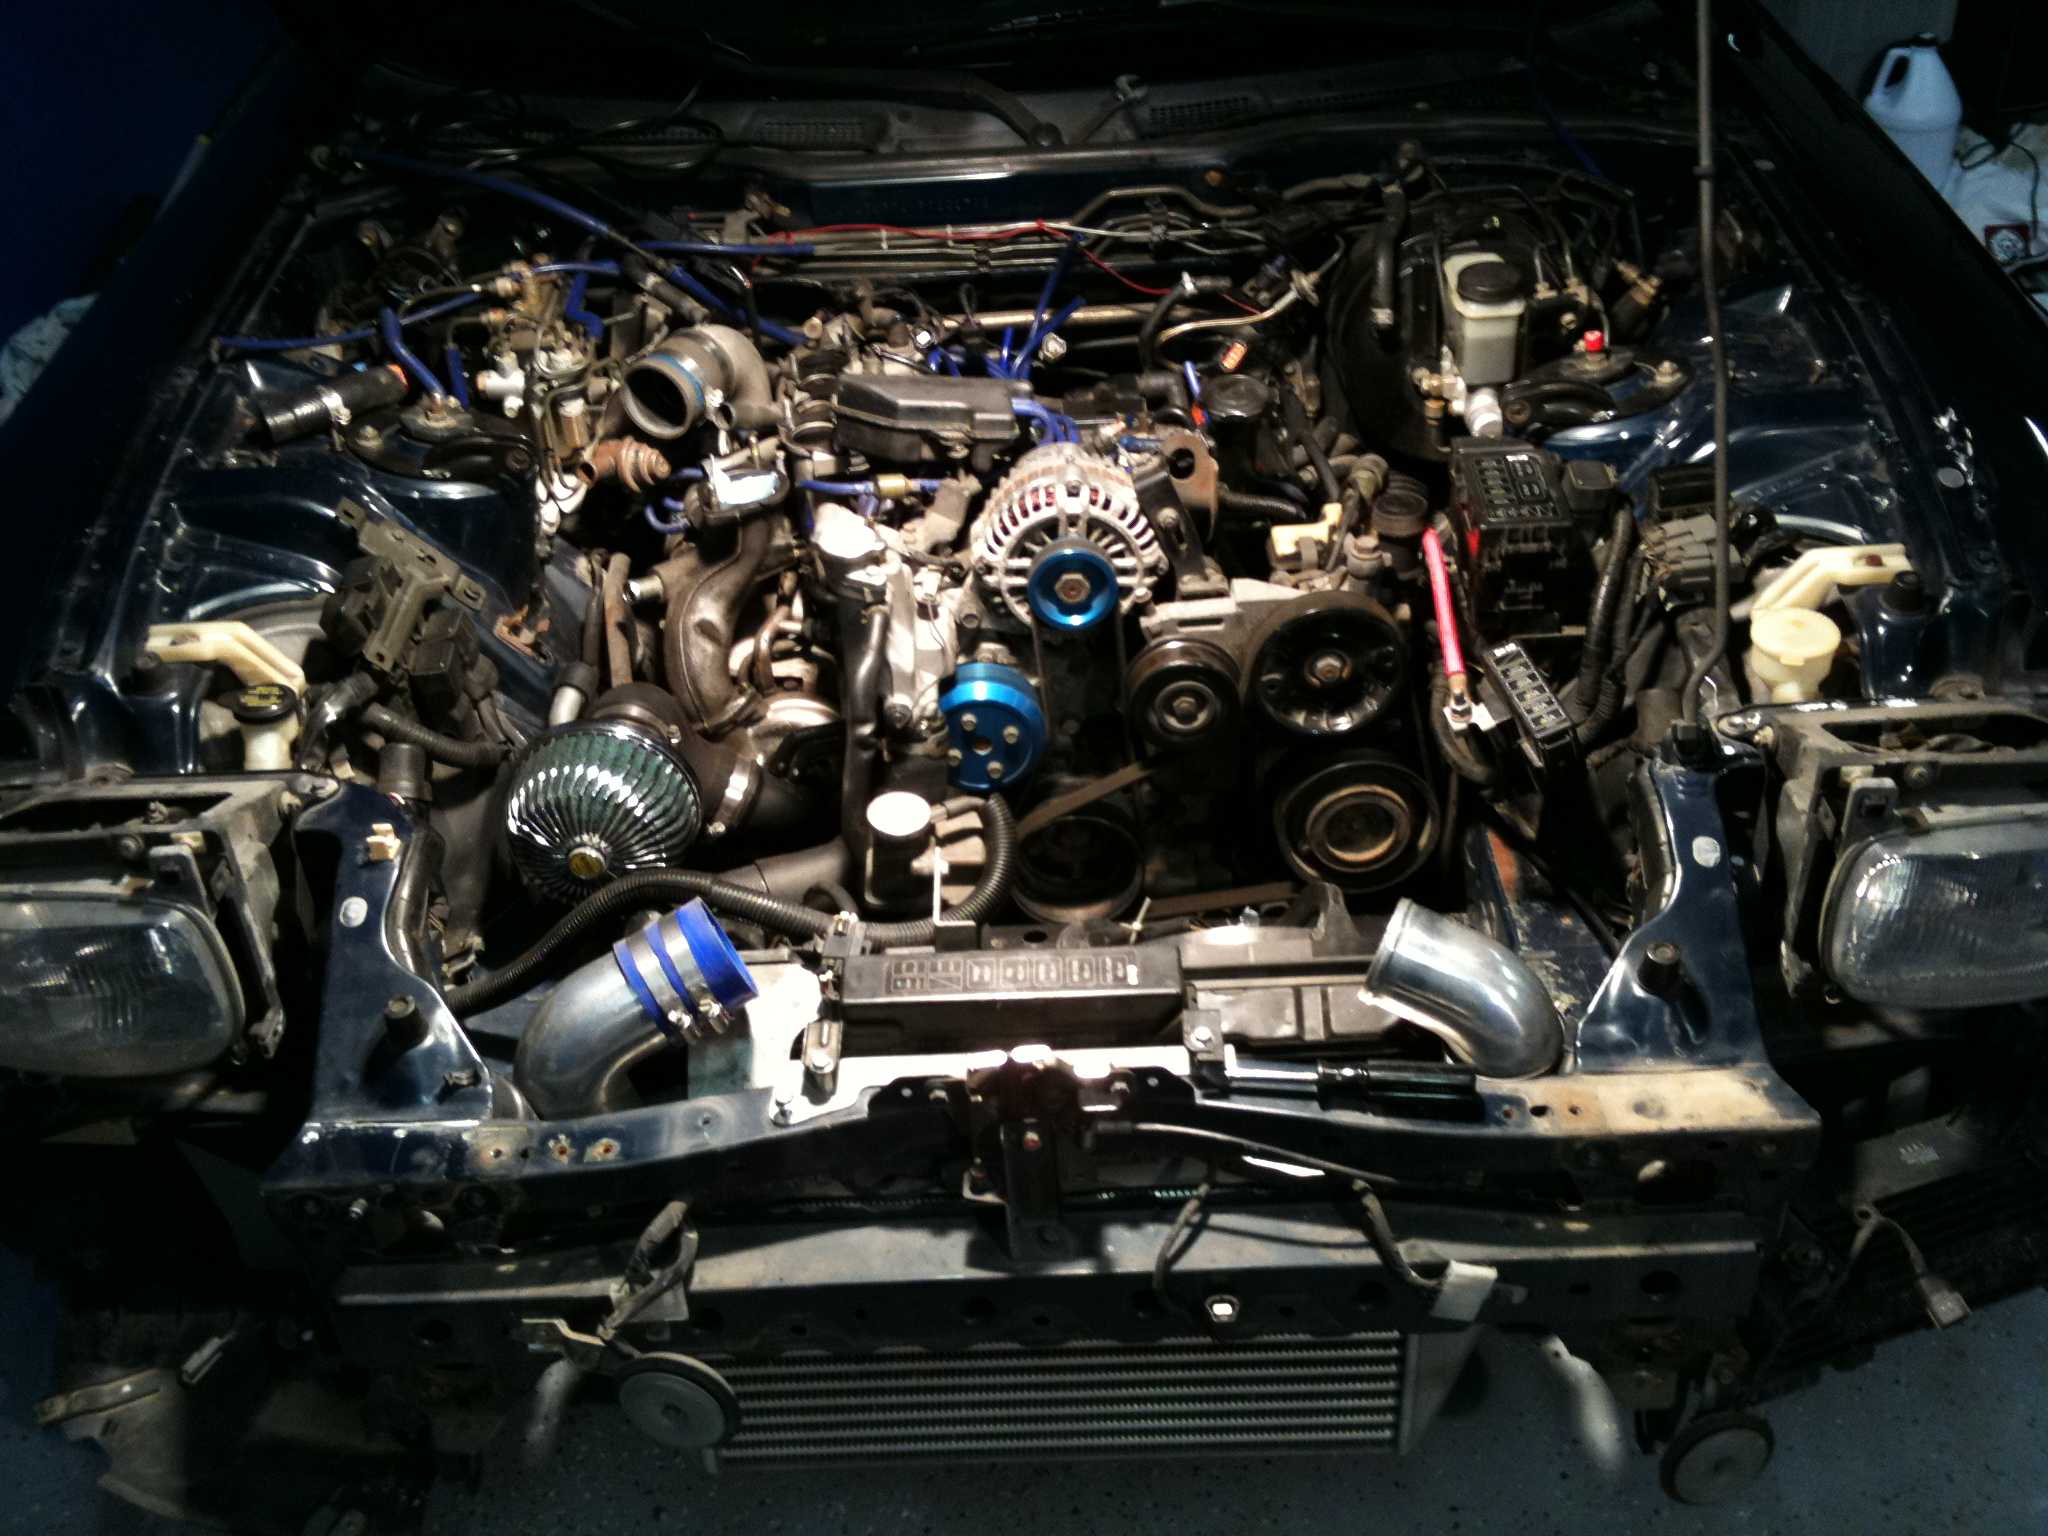
The FC3S Mazda RX-7 uses a conventional hydraulic power-steering system, but its tight engine bay makes hose routing important. The pump, reservoir, steering rack, pressure line, and return hose must work as a matched circuit, with enough clearance from the exhaust manifold, turbocharger, belts, and moving suspension components.
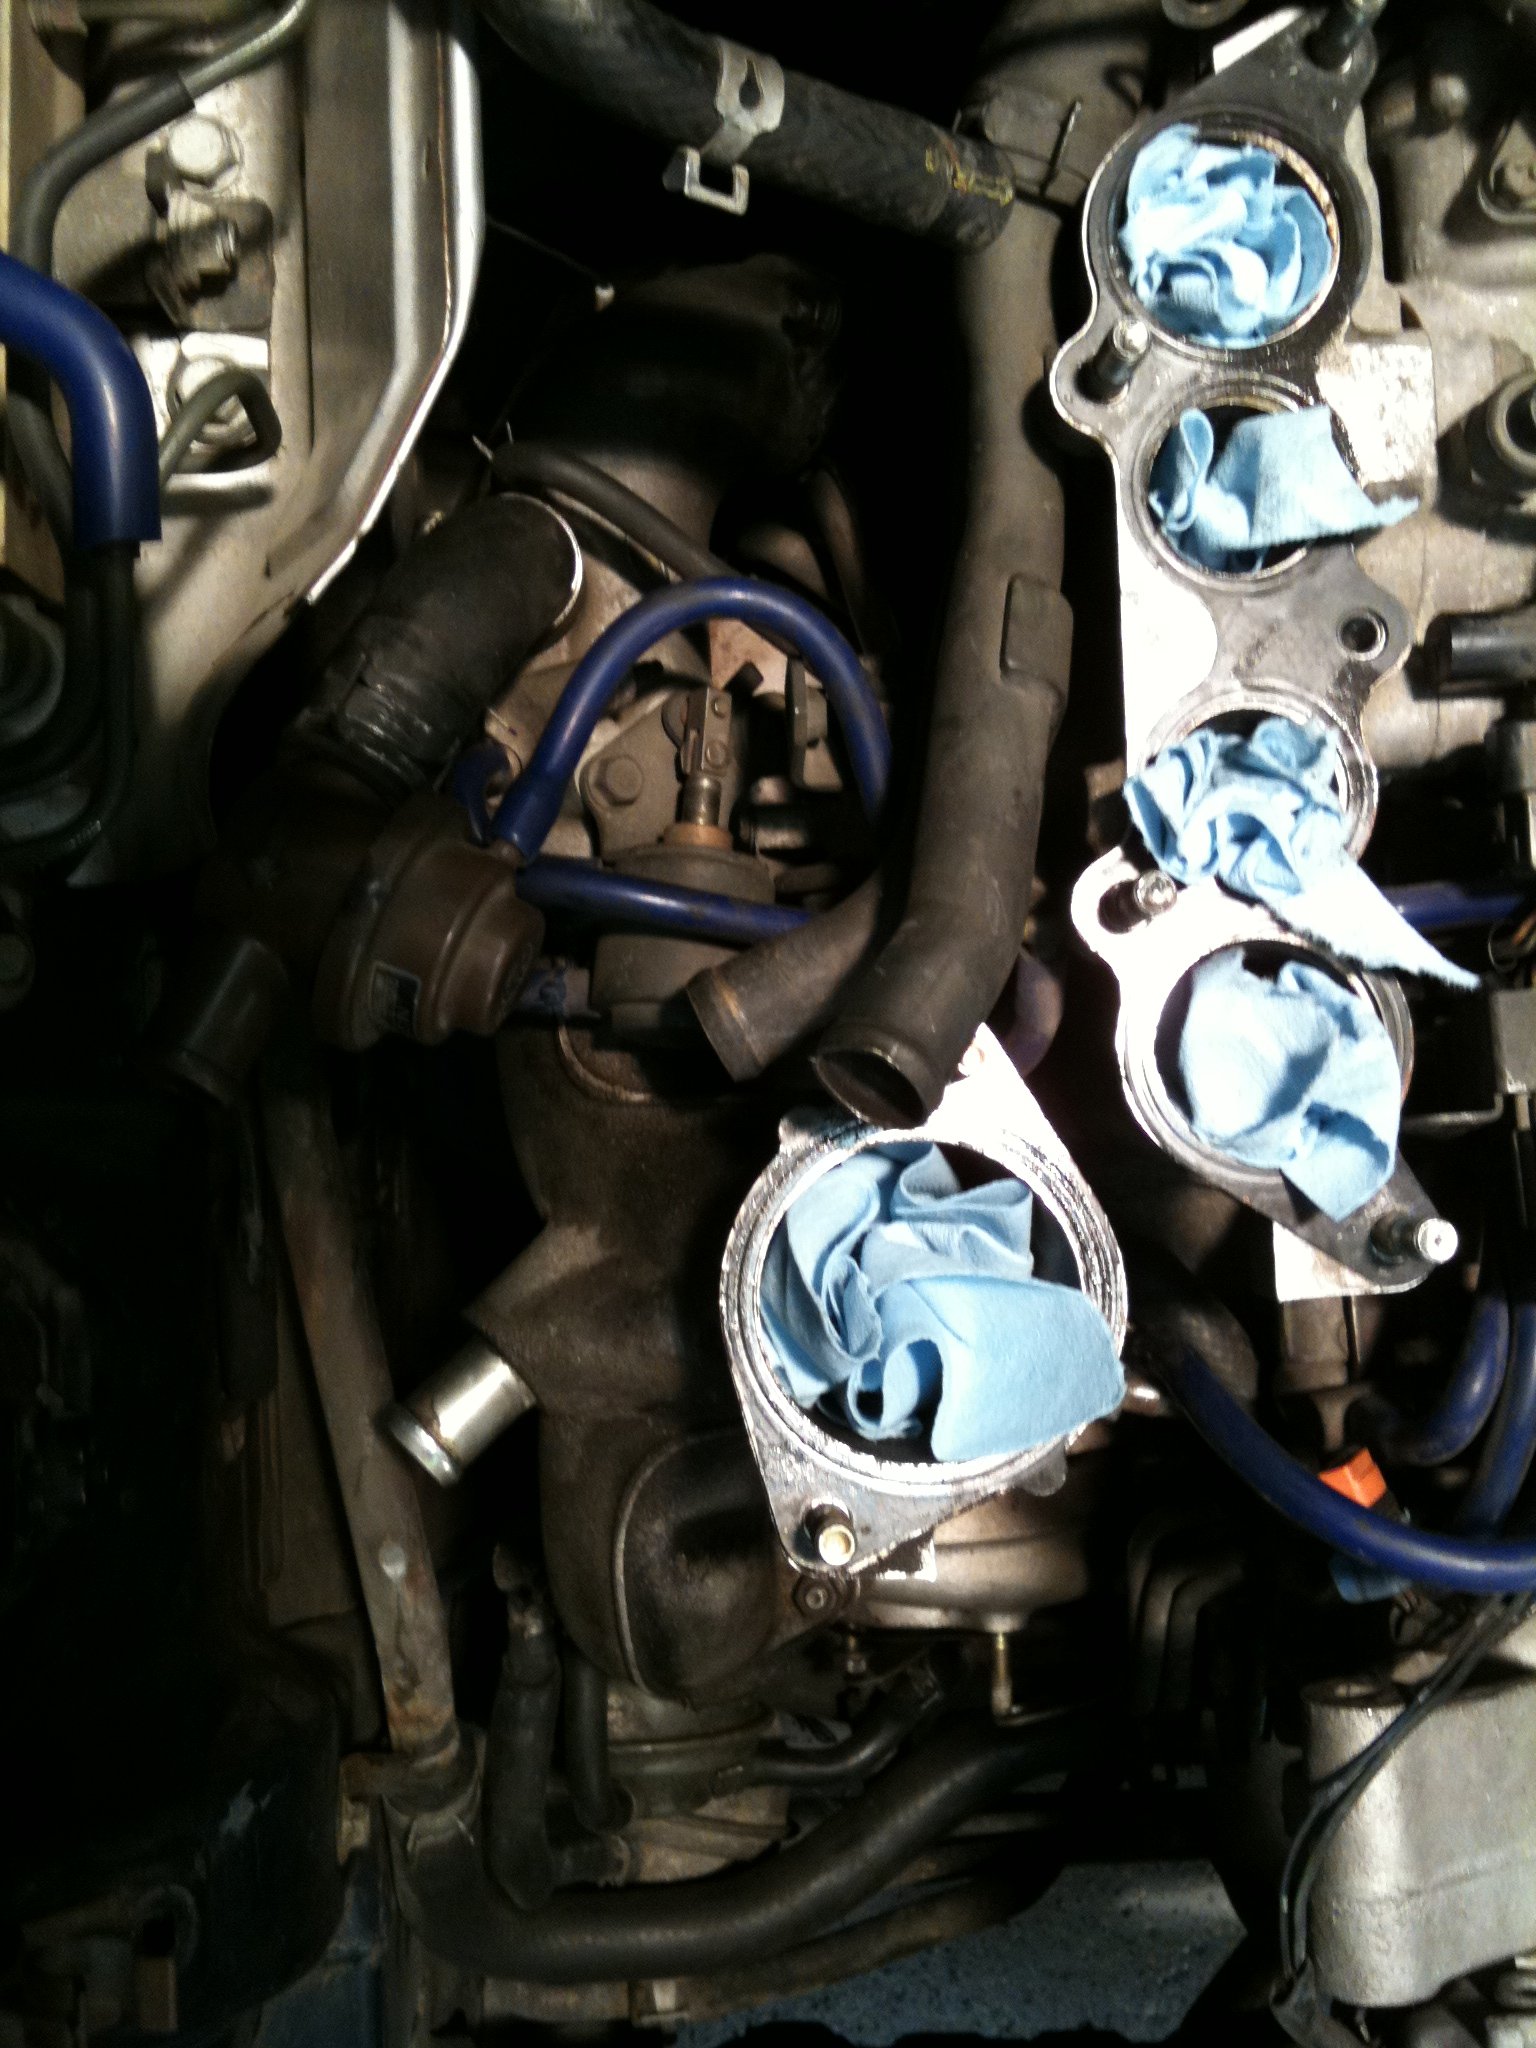
A misplaced hose can rub through on the chassis rail, soften from exhaust heat, or develop a leak at the rack connection. On a turbo FC, the extra heat around the 13B engine makes correct routing especially important after an engine swap, front-end repair, or aftermarket turbo installation.
Factory arrangements can vary between Series 4 and Series 5 cars, naturally aspirated and turbo models, and right-hand-drive Australian-market vehicles. Use the diagrams below as a routing guide, then confirm fittings and brackets against the correct service manual for your chassis number.
How The FC3S Steering Circuit Works
The power-steering pump draws fluid from the reservoir through the low-pressure suction hose. It sends pressurised fluid through the high-pressure line to the steering rack, where hydraulic assistance is applied as the steering wheel turns. Fluid then leaves through the return line and travels back to the reservoir.
The pressure hose normally uses reinforced construction and crimped fittings. The return hose operates at lower pressure, but it still needs oil-resistant power-steering hose rather than ordinary fuel, coolant, or vacuum hose. A loose return hose can empty the reservoir quickly and introduce air into the pump.
On a right-hand-drive FC commonly found in Australia, the rack and pipe positions should be checked from underneath rather than assumed from a US-market photograph. A Sydney or Brisbane workshop may also encounter imported Japanese cars with altered brackets, replacement racks, or non-original cooler loops.
Factory Routing And Diagram Notes
Viewed from the front of the car, the general circuit can be represented like this:
                  High-pressure line
Pump outlet  ------------------------------>  Steering rack
    ^                                             |
    |                                             | Return line
    |                                             v
Reservoir  <---------------------------------- Rack return
             Low-pressure suction hose
The pump is mounted on the engine and driven by the accessory belt. The reservoir should remain securely mounted, with the suction hose making a smooth path to the pump inlet. Avoid sharp bends near the pump because a restricted inlet can cause whining, aerated fluid, and premature pump wear.
The pressure line should follow its original metal sections and retaining clips wherever possible. Keep flexible sections away from the turbo downpipe, exhaust manifold, and accessory belt. If a replacement hose is fabricated, retain the correct banjo orientation and use sealing washers intended for hydraulic fittings.
The return line may pass through a cooling loop or pipe section depending on the model and market. Do not remove a factory cooler simply to make the engine bay neater, particularly if the car is used in summer traffic around Melbourne, Perth, or the Gold Coast.
Heat, Clearance And Leak Prevention
Heat shielding is valuable on turbocharged FCs. A pressure hose that looks sound when cold may become soft, swollen, or brittle after repeated track sessions. Leave clearance for engine movement, since the powertrain can shift slightly on its mounts during acceleration and when the car is driven over rough Australian roads.
Check that the hose does not touch the steering shaft, sway-bar hardware, front crossmember, or tyre at full lock. Turn the steering from lock to lock with the front wheels safely raised, then repeat the inspection with the car on the ground. Never rely on a static engine-bay check alone.
Before a long trip, combine the hose inspection with a wider vehicle check. This road-trip inspection guide is useful background for checking belts, fluids, tyres, and cooling components before heading from Adelaide to Melbourne or making a longer outback run.
Practical Workshop Checks
A clean system makes faults easier to locate. Wipe old fluid from the rack, pump, and hose unions, then run the engine briefly while watching for fresh seepage. Do not hold the steering at full lock for more than a few seconds, as this raises hydraulic pressure and loads the pump.
Use the correct fluid specified for the car and avoid mixing unknown fluids from previous repairs. If the reservoir contains foam, the pump is noisy, or the steering feels inconsistent, inspect the suction hose and its clamps before replacing the pump.
Before removing a hose
- Photograph the original routing and clip positions.
- Mark pressure and return connections.
- Plug open lines to keep dirt out.
After installing a hose
- Check clearance at full steering lock.
- Inspect for leaks with the engine running.
- Recheck the reservoir level after bleeding.
For owners keeping a digital workshop log, even general WordPress plugin advice can help prevent a technical archive becoming cluttered or difficult to maintain. The useful principle is simple: keep service notes, diagrams, and part references easy to find.
Choosing Replacement Lines And Confirming Fitment
Original hard pipes are often reusable if they are straight, clean, and free from corrosion around the flare or banjo ends. Replace any line that has been crushed, deeply rusted, or polished thin by contact with another component. Australian import cars may have years of modifications, so compare each line with factory diagrams rather than ordering solely by a generic “FC RX-7 power-steering hose” description.
The following comparison helps when planning a repair:
| Component | Operating role | Main inspection point | Suitable replacement |
|---|---|---|---|
| Pump suction hose | Feeds fluid to pump | Cracks, air leaks, softening | Oil-resistant low-pressure hose |
| Pressure line | Carries high-pressure fluid | Crimp damage, heat exposure, banjo seals | Correct hydraulic hose assembly |
| Rack return hose | Sends fluid back to reservoir | Chafing, loose clamps, swelling | Power-steering return hose |
| Metal pipe or cooler loop | Adds structure and cooling | Corrosion, dents, blocked passage | OEM pipe or correctly sized replacement |
| Mounting clips | Controls movement and clearance | Missing clips, broken rubber sleeves | Original-style clips and isolators |
Keep the RX-7’s broader rotary documentation close when a steering repair becomes part of a larger rebuild. The TurboRX7 reference library provides factory documentation and technical material that can help cross-check model details. For related engine-building context, the rotary housing discussion is also relevant when an FC project has progressed into 13B or 20B hardware decisions.
Correct power steering line routing is a small detail with a large effect on reliability. Follow the original path, protect hoses from heat and movement, use the right seals, and verify the system under real steering motion. Save the routing photos and measurements with the car’s service records so the next repair is quicker and safer.