
Choosing between water-to-air and air-to-air intercooling on an RX-7
When a rotary sees serious boost, the charge air leaves the turbo glowing hot, and how you cool it shapes everything from power delivery to engine longevity. The 13B responds strongly to dense, cool intake charge, which is why the water-to-air versus air-to-air intercooling debate remains one of the most argued topics in RX-7 workshops from Sydney to Perth. Builders weigh packaging, climate, and ambition before committing to a system, and the wrong call can quietly cap a build's potential.
Australia brings complications. Summer temperatures push past 38 °C in Adelaide and Brisbane, and stop-start driving on the M1 between Brisbane and the Gold Coast punishes anything that relies on ram airflow. A setup that works in winter testing can fail at the first 40 °C day at Willowbank, which is why the decision deserves more thought.
Why charge cooling matters for the 13B
A rotary engine's combustion cycle is heat-sensitive, and a turbocharged 13B dumps plenty of energy into the intake tract. Cooler charge air increases density, which lets the engine make more power on the same boost level and reduces the risk of pre-ignition. Without effective intercooling, an RX-7 running 15 psi or more on E85 quickly runs out of margin and pulls timing on every hard run.
Beyond outright power, intake temperature affects throttle response. On a high-powered street car navigating Melbourne traffic, or a weekend drag car staging at Sydney Dragway, repeatable performance matters more than a single peak number. Builders chasing 400 kW street setups often see intake temperature differences of 30 °C or more between poorly and well-cooled configurations, which translates directly to driveability and reliability.
How air-to-air intercoolers work on an RX-7
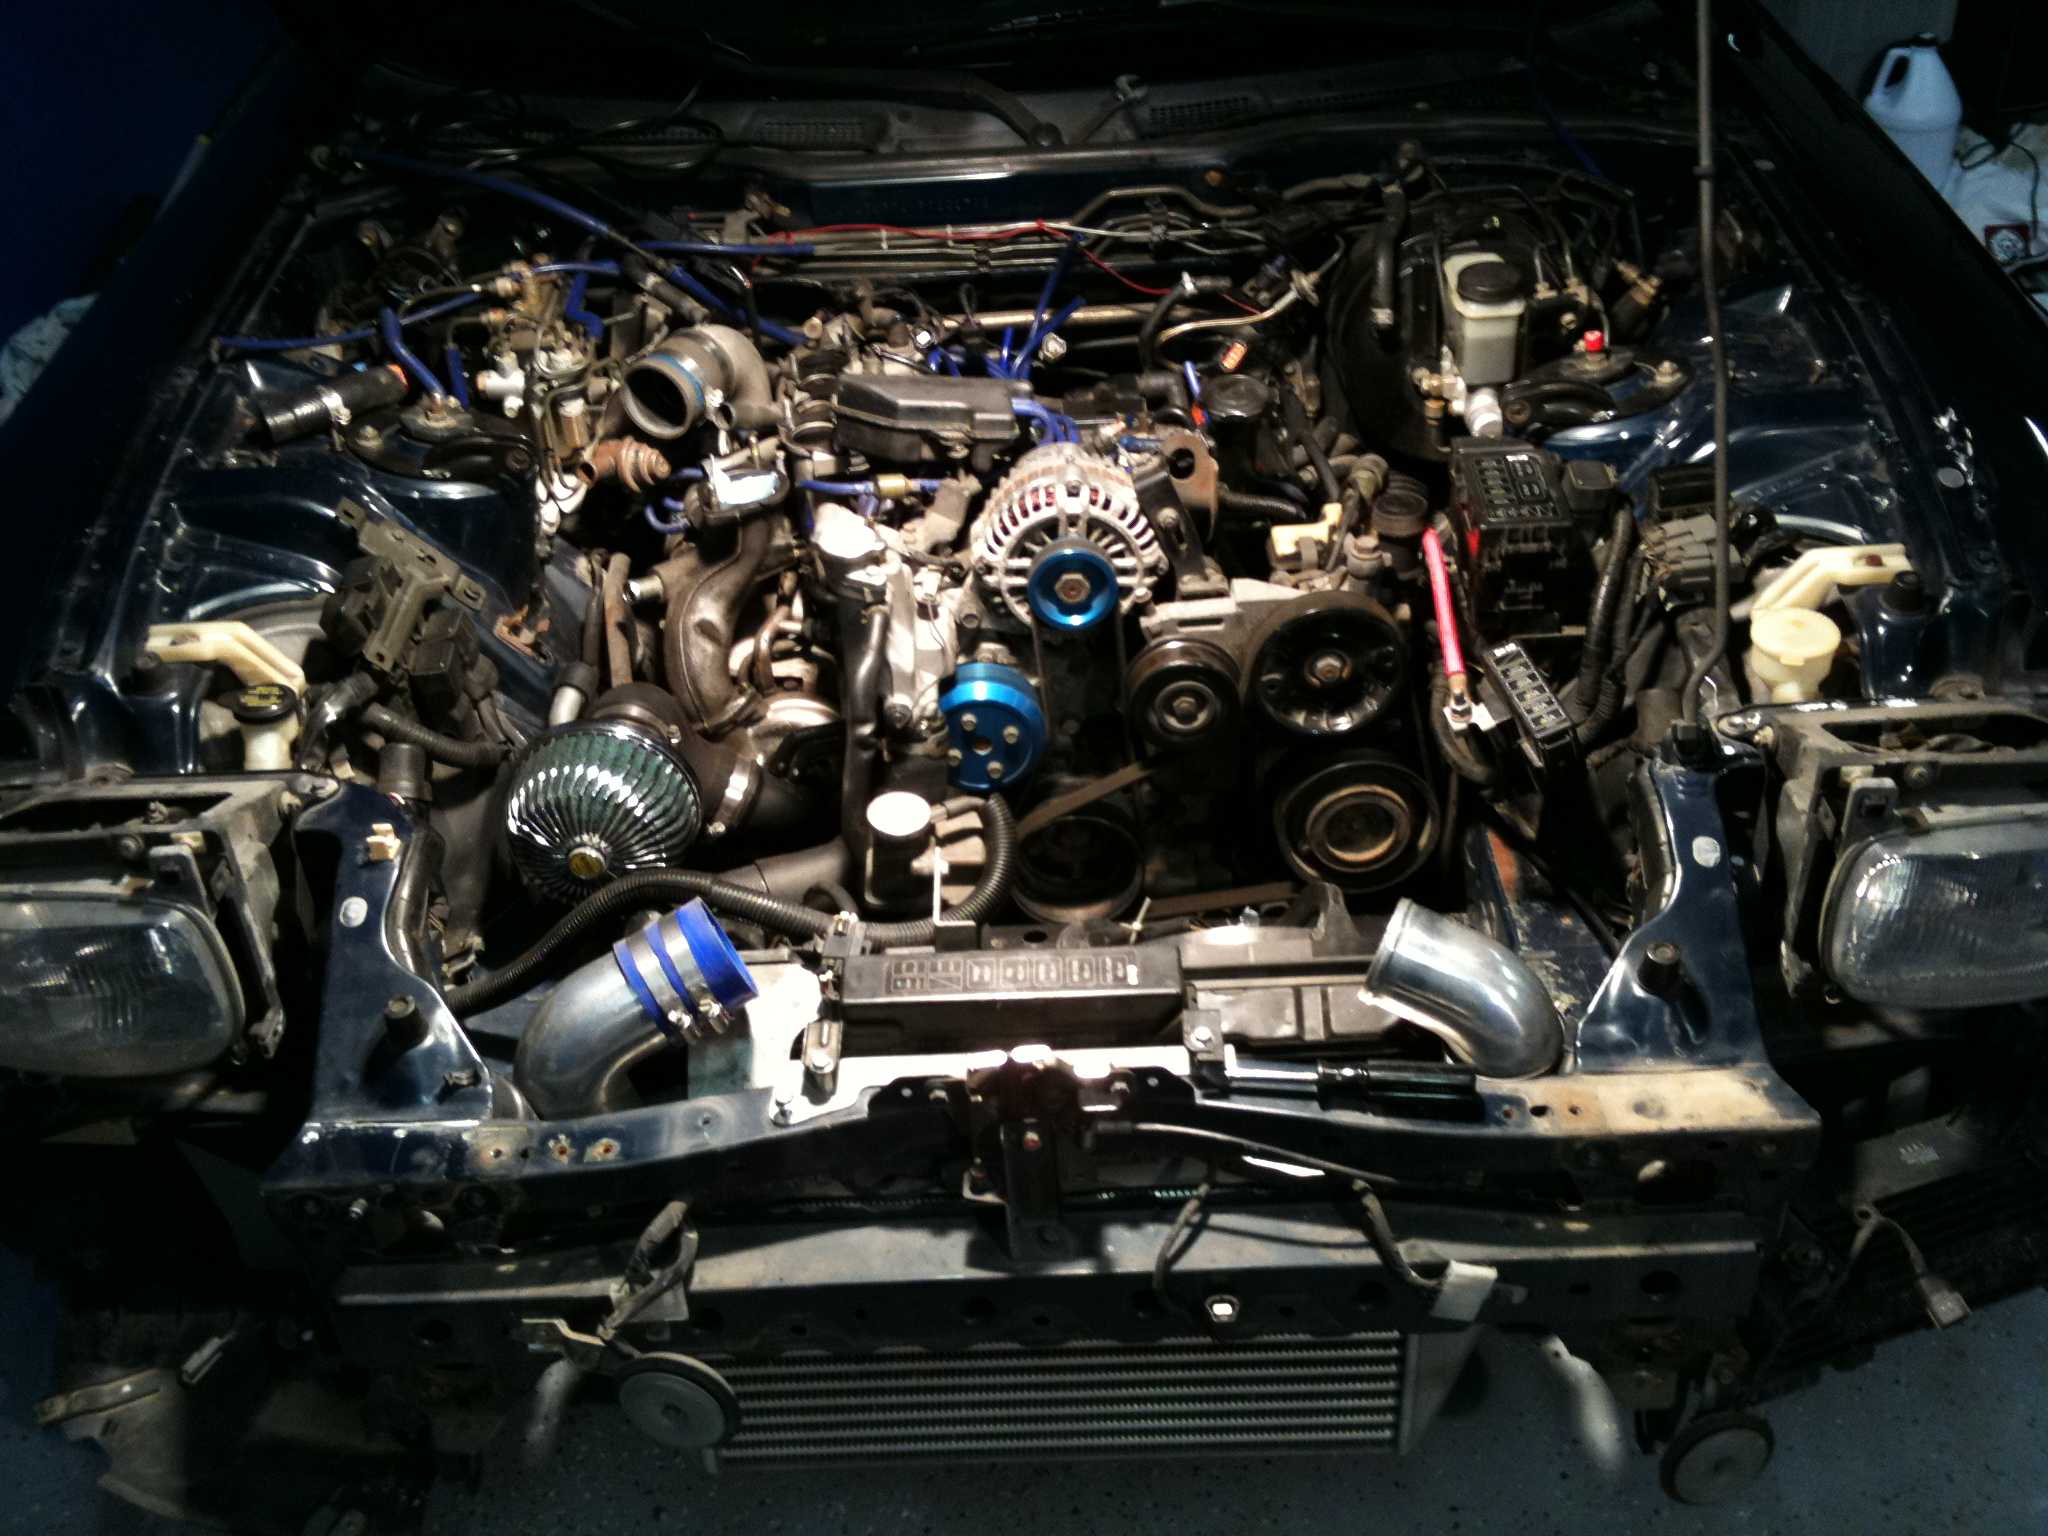
An air-to-air intercooler sits in front of the radiator and uses airflow to pull heat out of the charge. Hot compressed air from the turbo passes through the core, transferring heat to ambient air as the car moves. On FD and FC chassis, a front-mount setup remains the most common approach, though top-mount designs still have their supporters in the local rotary community.
The main appeal is simplicity. There are no pumps, reservoirs, or extra failure points — the intercooler does its job as long as it is fed clean air. Parts are affordable, with plenty of second-hand cores available through Facebook groups, Rotary Revolution forums, and marketplace listings in every capital city. A budget build can be assembled over a weekend with basic tools and a handful of silicone joins.
The Australian climate problem for air-to-air
The downside shows up whenever the car is not moving forward. Sitting in traffic on the M1 or staging at the lights at Calder Park, an air-to-air core soaks in engine bay heat and loses efficiency quickly. Australia's stop-start urban driving exposes this weakness more than any European commute would, and the effect compounds through a long summer.
Heat soak is the core issue. After three or four hard runs on a 40 °C day, intake temperatures can climb past 60 °C, and the ECU pulls timing to protect the engine. Local tuners now log intake temperature because the gap between a cool morning pass and an afternoon pass at Heathcote Park can exceed 30 kW. For street-driven cars this is manageable, but for track-only builds it becomes frustrating fast.
Water-to-air intercooling explained
A water-to-air setup routes charge air through a small heat exchanger in a coolant reservoir, itself cooled by a separate heat exchanger — often mounted where the air conditioning condenser used to live. A pump circulates the coolant, and the result is a self-contained cooling package that does not depend on ram air. As long as the pump runs and the reservoir is full, the system works at idle, in traffic, or on the back straight at Wakefield Park.
The real strength is consistency. Because the system carries its own dedicated heat exchanger, intake temperatures stay nearly flat across operating conditions. Tuners running PowerFC or a Link G4+ on a 20B swap often choose water-to-air specifically so the air-fuel and timing maps stay valid across conditions. For anyone still getting familiar with the broader rotary picture, the fundamentals of rotary cooling helps clarify how plumbing choices affect the build.
Real-world trade-offs of water-to-air
The list of moving parts grows quickly. A pump, a heat exchanger, a header tank, coolant lines, and a way to control them are all required. Each fitting is a potential leak point, and Australian summers are unforgiving on plastic tanks that have been in service for fifteen years. A modest metal tank upgrade pays for itself the first time it prevents a midnight garage flood during a summer thunderstorm in Perth.
Weight and cost are worth weighing. A complete water-to-air kit can add 8 to 12 kilograms, mostly low and toward the front, which on a balanced FC matters more than on a nose-heavy FD. Pricing runs higher too — a quality system from a local Melbourne or Brisbane fabricator starts around $1,800 before installation, while a competent air-to-air setup can be done for roughly a third of that. Both are proven across decades of Australian builds.
Picking the right setup for your build
A direct comparison helps frame the choice. The table below lays out how the two systems differ across the criteria that matter most to Australian RX-7 owners, from heat soak behaviour to long-term maintenance.
For those restoring factory-correct cars, the OEM information archive is worth bookmarking, since it documents original cooling routing, radiator specifications, and intercooler provisions on Australian-delivered FD3S models.
| Feature | Air-to-Air | Water-to-Air |
|---|---|---|
| Initial cost | Lower | Higher |
| Heat soak in traffic | Significant | Minimal |
| Sustained drag performance | Declines with repeated runs | Consistent |
| Packaging in FD/FC | Front-mount required | Flexible, fits behind bumper |
| Ongoing maintenance | Almost none | Pump, coolant, fittings |
| Weight | Lighter | Heavier |
| Reliability for street use | Excellent | Very good with quality parts |
Common mistakes to avoid
- Under-sizing the intercooler for the boost target, then wondering why intake temperatures climb on every run
- Routing charge pipes through the hottest part of the engine bay, where they soak up heat from the extractors
- Running a water-to-air system with a single undersized pump that cannot keep up under sustained load
- Ignoring the factory radiator, which still has to shed both engine heat and the heat exchanger load
Quick decision checklist
- Decide whether the car is a street, strip, or track machine, and choose accordingly
- Measure bonnet clearance and intercooler support points before buying a core
- Budget for supporting parts including new silicone joins, clamps, and a catch can
- Talk to a local tuner who has logged intake temperatures on similar setups in similar conditions
The right intercooling system rewards careful matching to the build, the climate, and the goals. For a deeper dive into factory specs, porting work, and cooling system diagrams, the TurboRX7 main hub brings everything together. While the research drags on, a quick read of dental care basics online is a good reminder to stretch the legs before the next round of parts research.