
Flushing and replacing FD3S coolant hoses
Flushing and replacing FD3S coolant hoses is more than fitting fresh rubber and topping up the radiator. Trapped air, a cracked heater hose or a weeping water-pump seal can turn a weekend service into overheating on the road. The goal is a clean circuit, secure joints and a repeatable bleed-and-check routine.
This guide covers the factory-style hose routes around the radiator, heater circuit, thermostat and pump areas of the FD3S. It also covers what to inspect on a 13B or 20B installation, where age and previous repairs can matter more than the engine badge. Work slowly, keep parts organised and record the routing before anything comes apart.
Map the cooling circuit
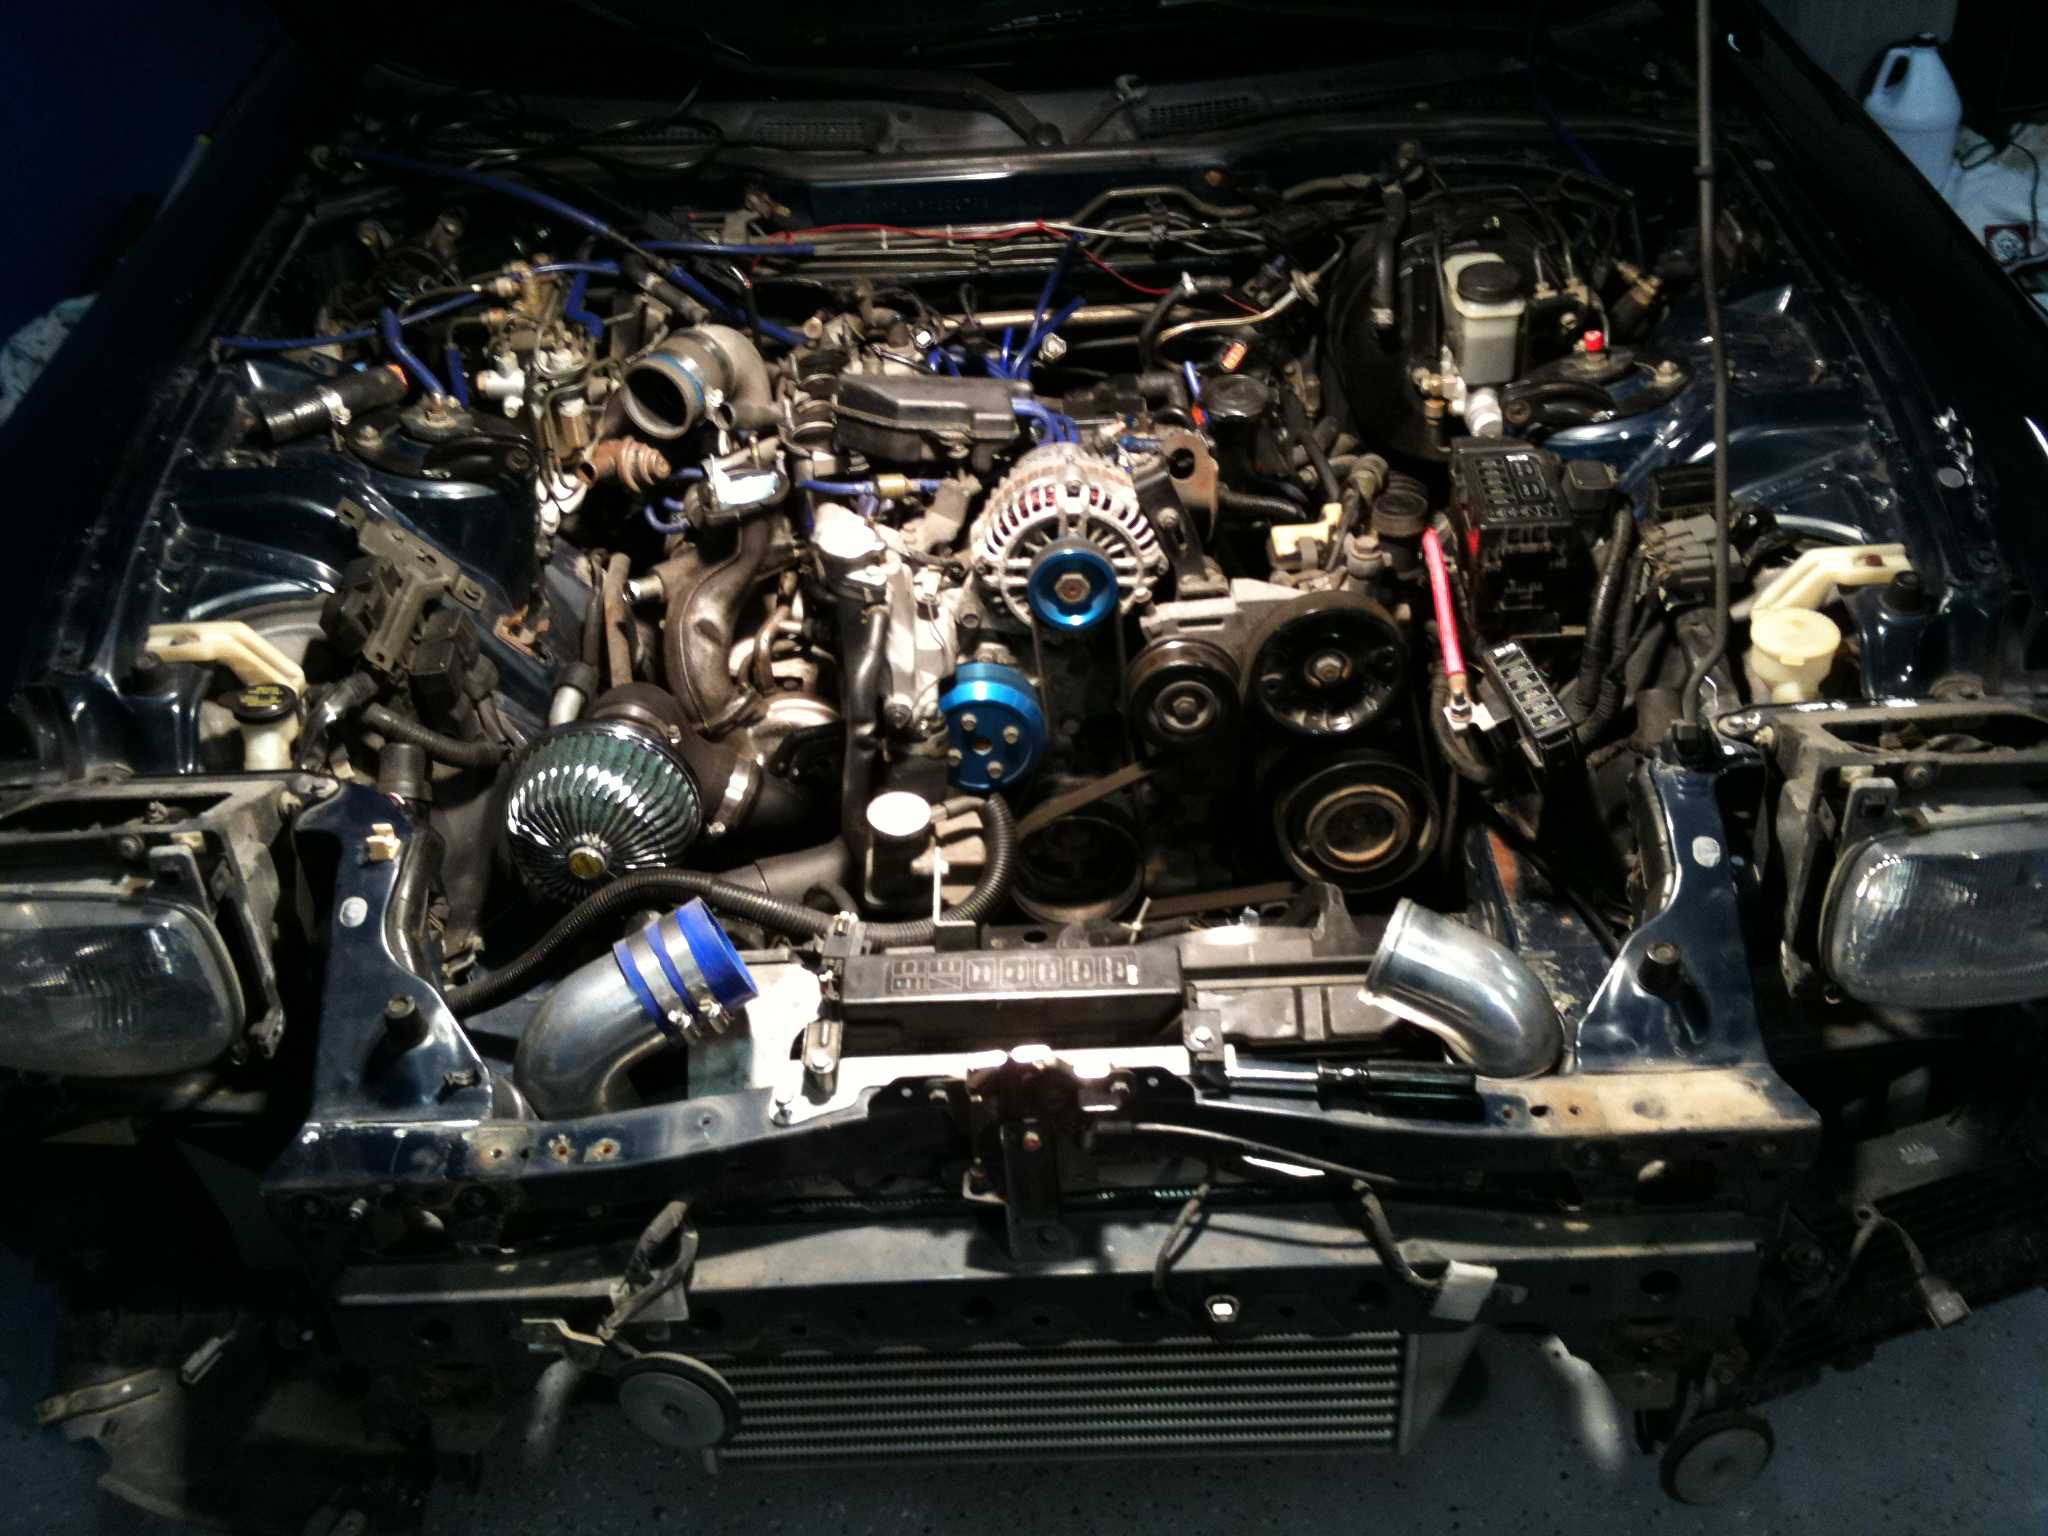
Start by identifying every hose and metal coolant pipe rather than pulling components blind. On most FD3S cars, upper and lower radiator hoses connect the radiator to engine-side plumbing, while heater hoses pass through the firewall to the heater matrix. Turbocharged cars can have additional junctions, so use the correct diagram for the engine and body combination. The site’s factory reference material provides a useful starting point for chassis identification and supporting documentation.
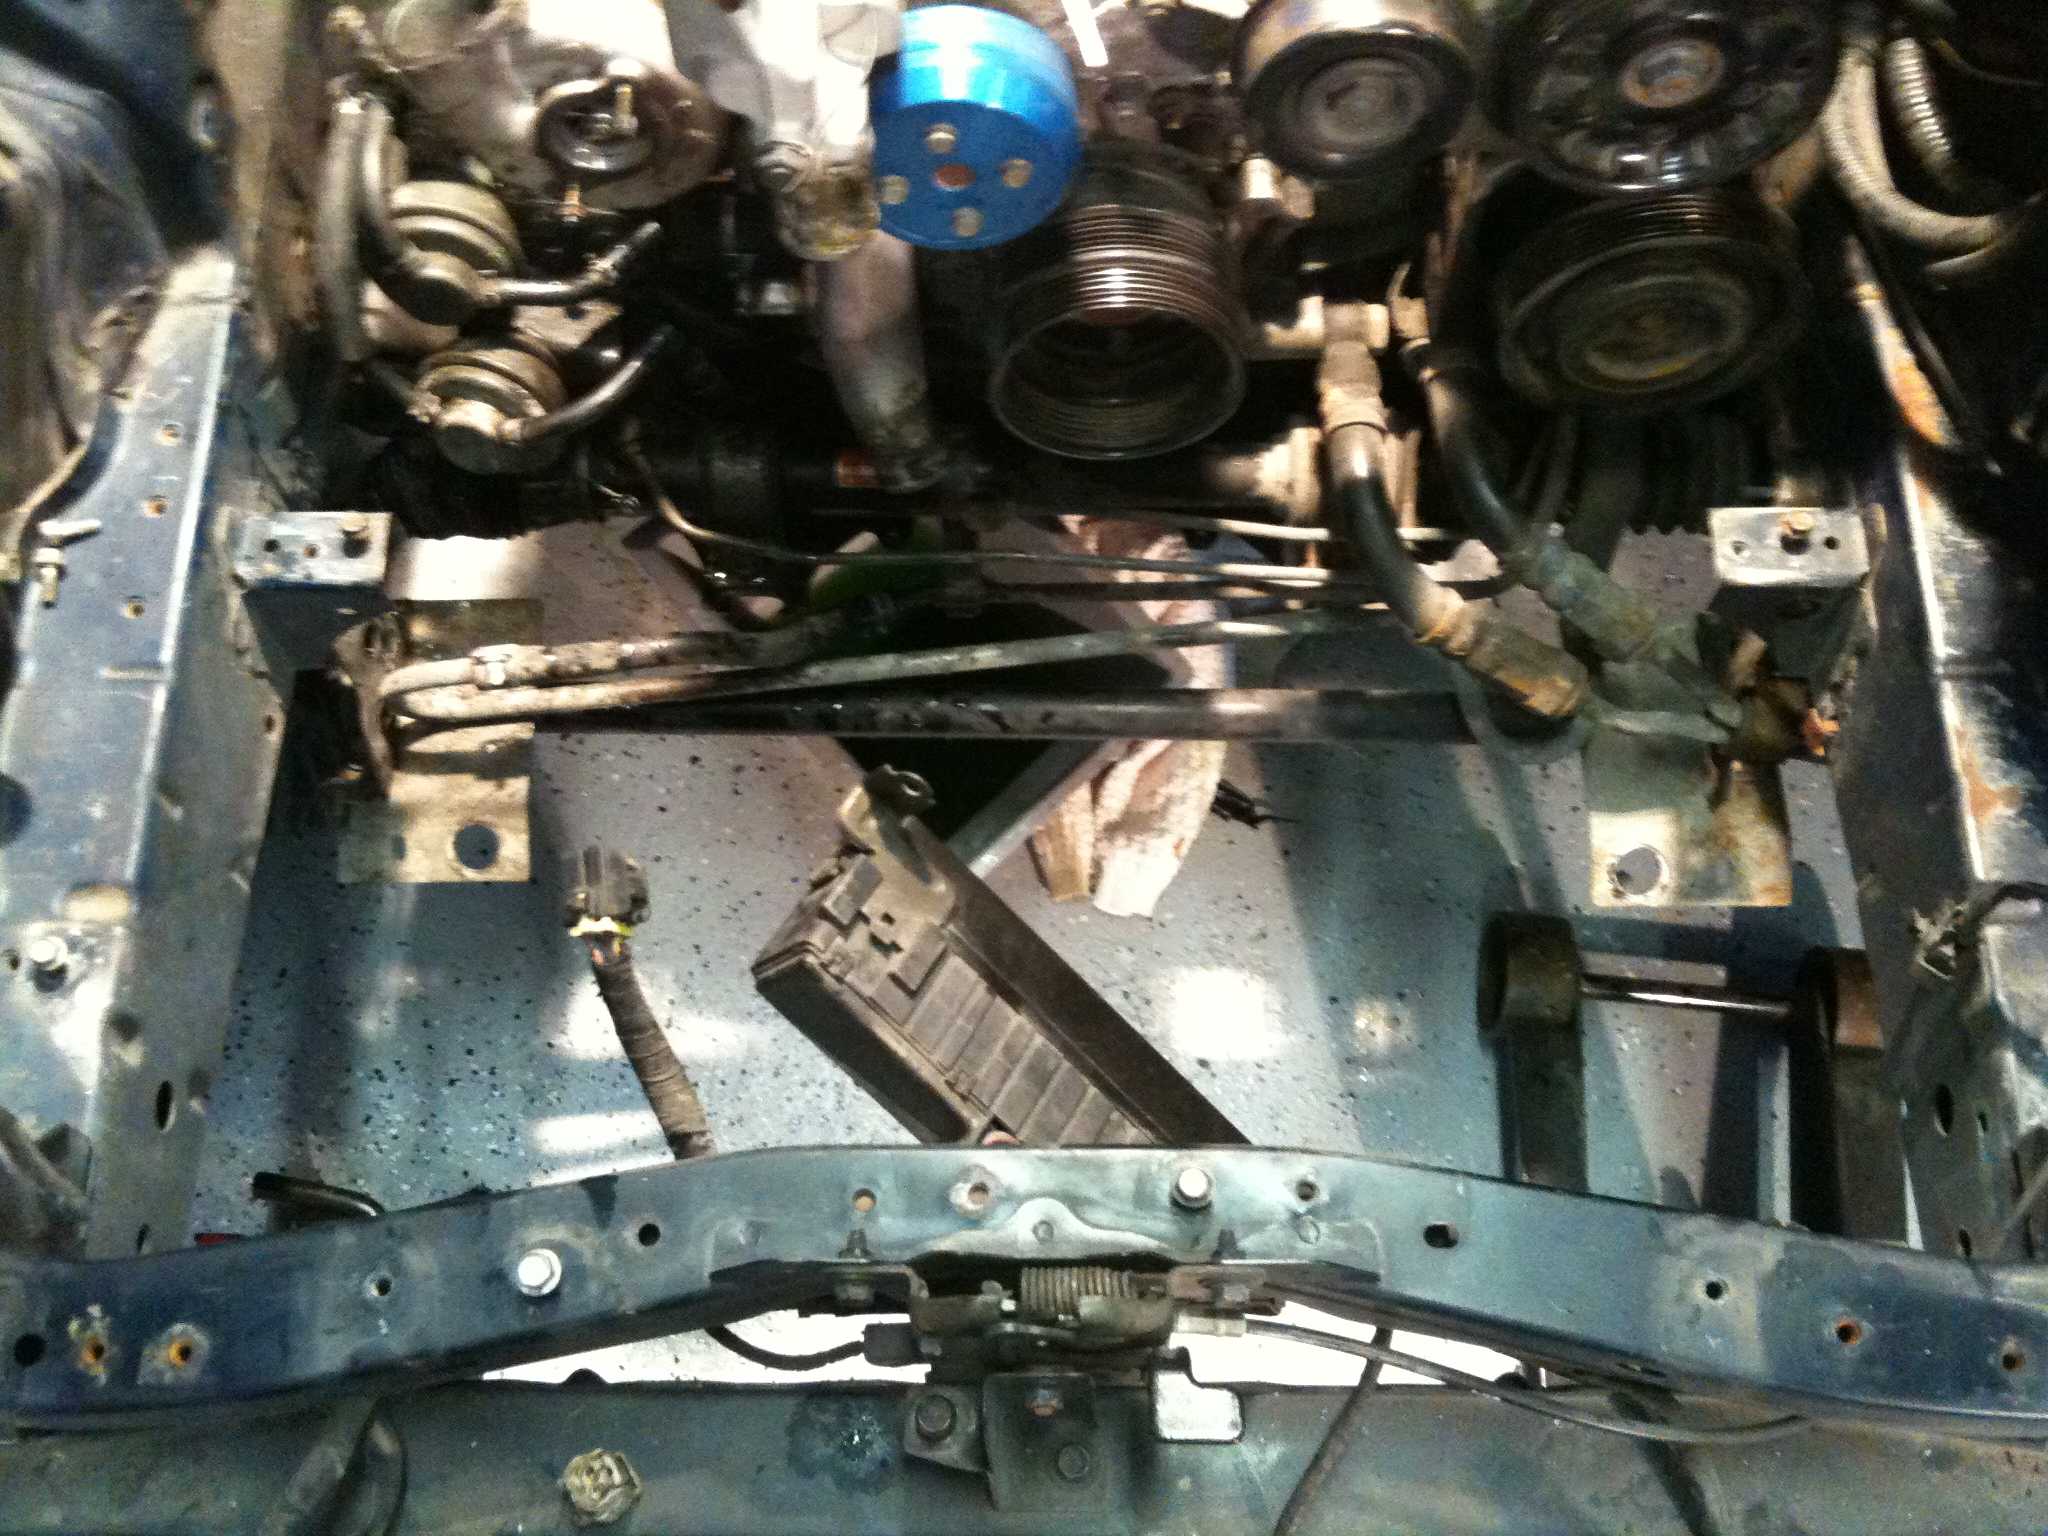
Take photographs from several angles, including under the nose and behind the dashboard, then mark hoses that disappear into modified brackets. Australian right-hand-drive cars may have converted or repainted engine bays, and a tidy-looking swap can still conceal a different hose length or routing. Check the radiator, fan shroud, thermostat housing, water-pump area and heater box for corrosion, coolant dye or oily film before choosing replacement parts.
Flush without forcing coolant through seals
Begin with a completely cold engine. Disconnect the negative battery terminal, place absorbent material beneath the radiator and open the drain petcock where fitted. Never remove the radiator or expansion cap while the system is hot, because releasing the cap can send scalding coolant across the workshop. Keep the drain hose in a container and dispose of used glycol through a council hazardous-waste or recycling facility rather than pouring it into a stormwater drain.
A complete flush requires removing the radiator hoses and draining the engine-side circuit. Some fluid will remain in the heater core, thermostat housing and pump passages, so a basic drain at the radiator will not clear old coolant or accumulated sediment. Flush each section with low-pressure water and a suitable cleaning method, working the hoses gently to dislodge debris without forcing it through the pump or heater matrix.
Rotary owners often share procedures that do not appear in a workshop manual. A rotary community meetup report from Indonesia illustrates how global communities exchange hard-warned knowledge. Treat such advice as a useful second opinion, then confirm hose routing, coolant compatibility and torque details against the correct factory documentation.
Replace hoses and inspect hidden wear
Remove the old hoses slowly, noting which direction any internal baffles face and how the routing avoids exhaust components. Inspect each hose for pinhole leaks, flattened sections, softening around clamps and cracking at the crimped ends. Replacement hoses must have the correct bends and lengths; a straight universal hose may kink or place the clamp too close to a sharp edge. Fit new clamps and replace any disturbed coolant pipe O-rings or sealing washers with the correct size.
While the circuit is open, inspect the radiator caps and necks, thermostat housing gasket, fan shroud and accessible water-pump area. A coolant weep near the pump may point to a failed seal rather than a hose fault. If the pump or thermostat must be removed, use the relevant service procedure and replace the specified seals. The arrangement differs between 13B and 20B installations, so do not assume parts from another FD3S engine will interchange.
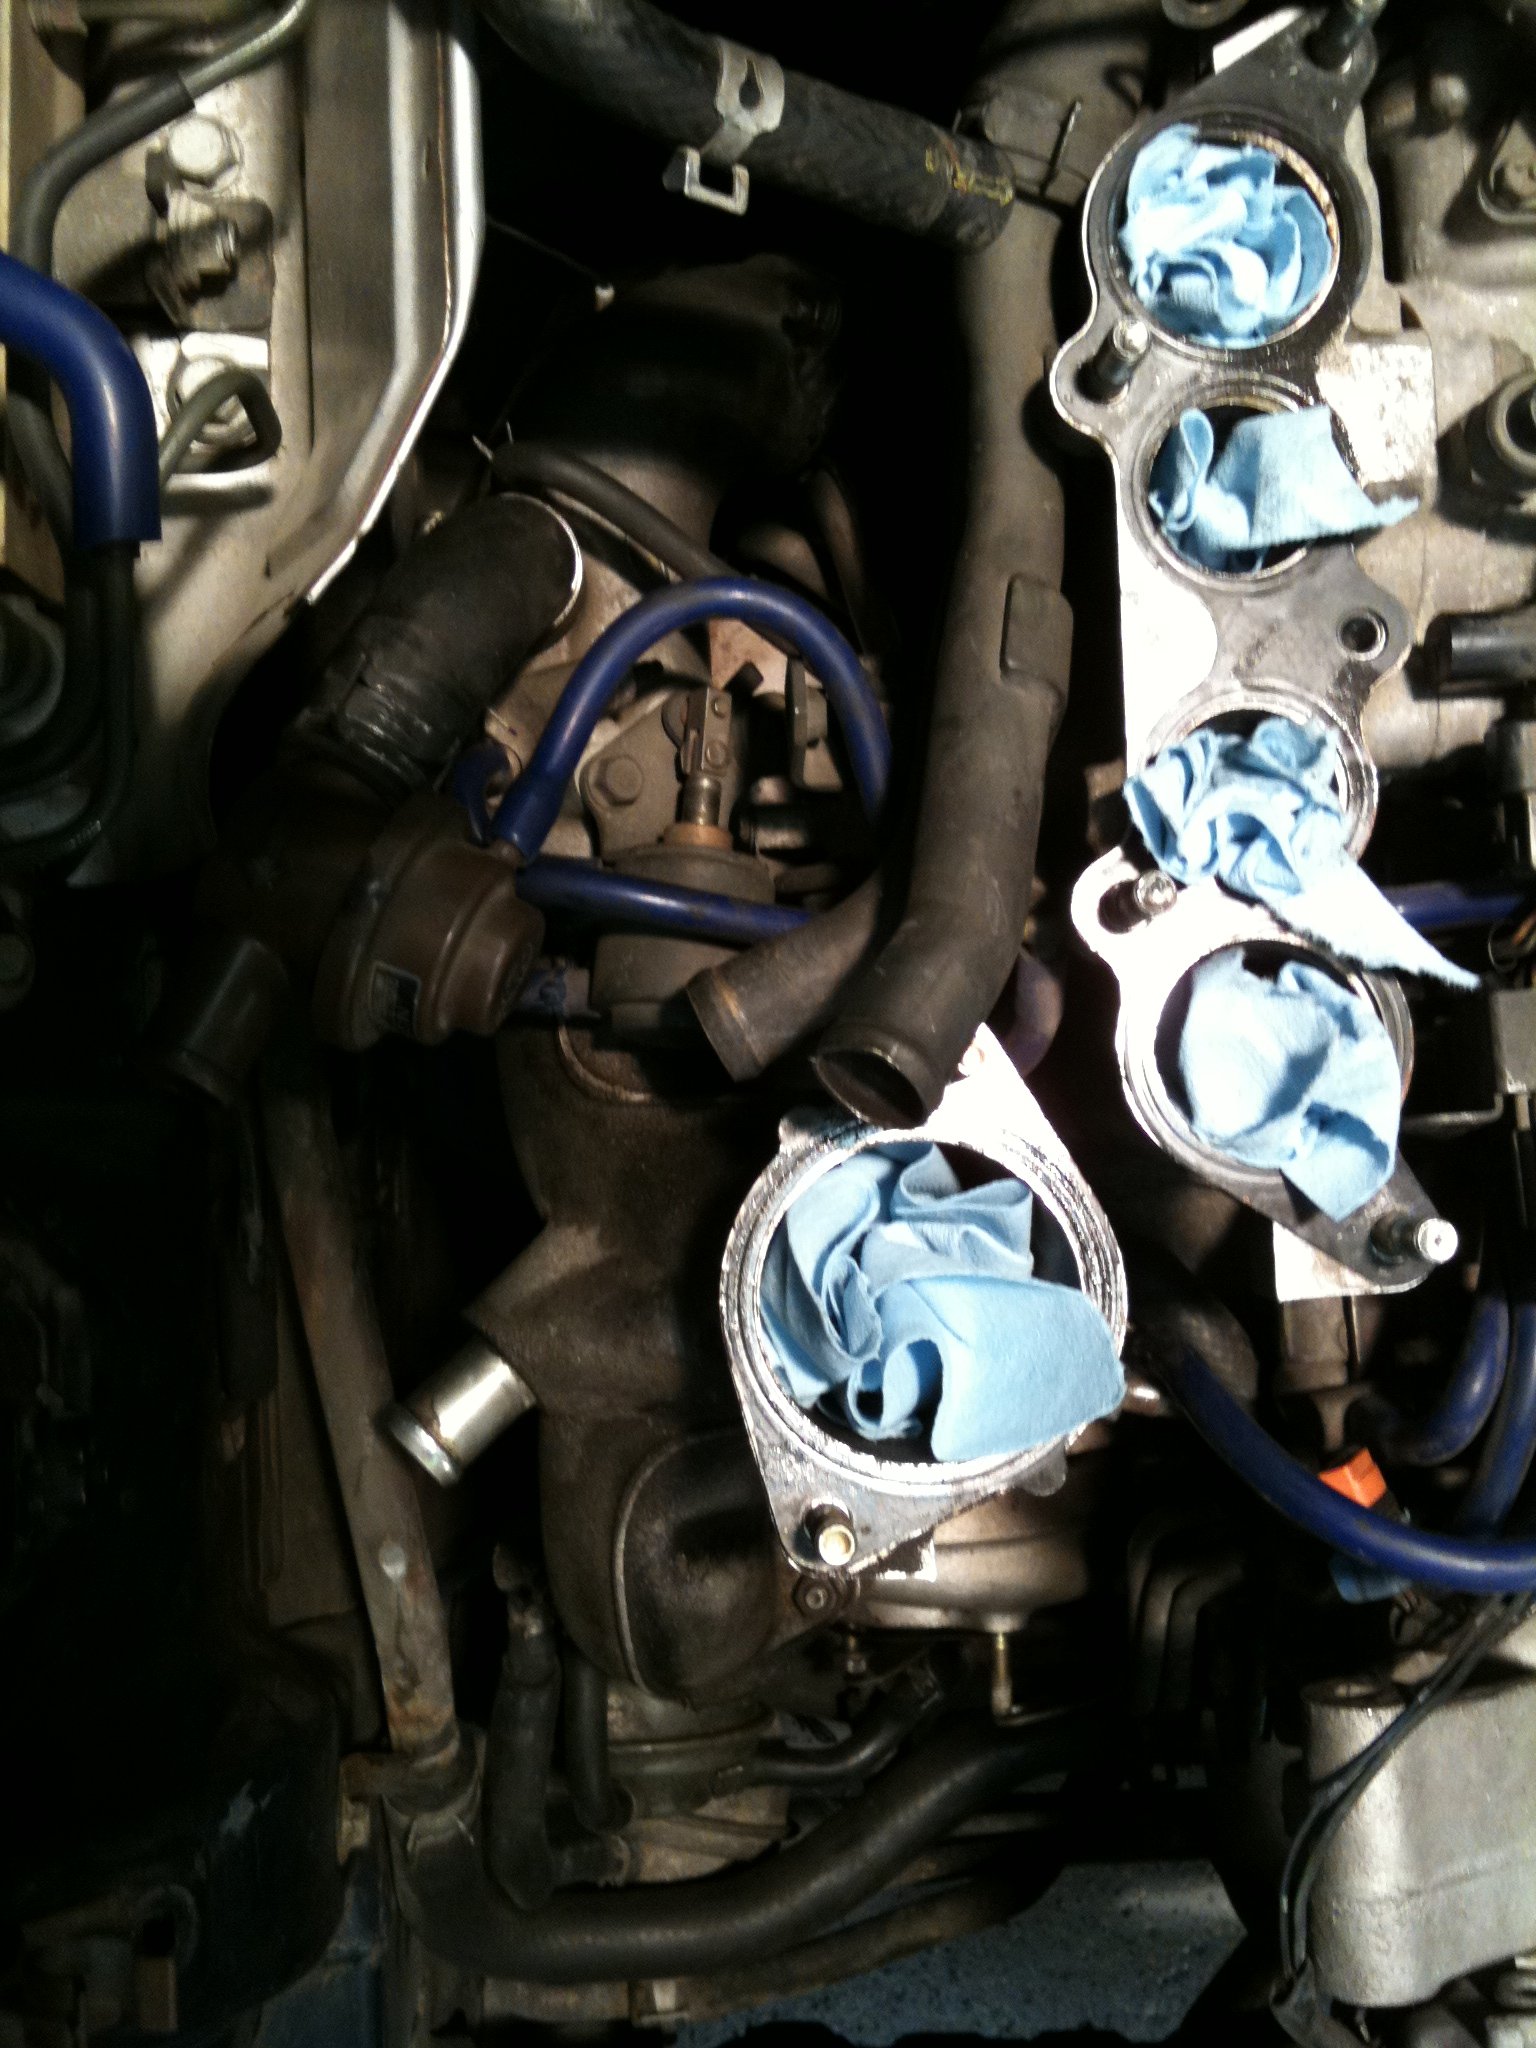
If the same weekend includes broader engine work, fitment deserves the same attention as hose dimensions. The site’s seal assembly notes demonstrate the value of checking clearances and component compatibility rather than relying on visual similarity. This is particularly relevant to modified cars with revised brackets, injectors, turbo hardware or previous cooling-system changes.
Refill, bleed and check for faults
Fit the hoses before adding coolant, ensuring they are not twisted and remain clear of sharp edges, fans and exhaust headers. Secure the clamps evenly without crushing the hose or stripping the clamp screw. Fill the system slowly with the correct ethylene-glycol coolant mixed to the manufacturer’s specification, using distilled water where required. Keep the radiator cap off during the initial fill and manipulate the heater hoses gently to release trapped air.
Allow the engine to warm gradually while watching the temperature gauge and inspecting every hose joint for leakage. The cabin heater should produce warm air once the engine reaches operating temperature; weak heating or a fluctuating gauge may indicate an air pocket or a thermostat problem. Keep the radiator cap off only while the system is cold, then fit it correctly and test the cap with the appropriate pressure tester. Do not open it again after the engine has become hot.
Persistent overheating can have causes beyond the hoses, including a restricted radiator, failed fan switch, incorrect coolant level or engine-management fault. Check the temperature-sensor readings and electric-fan operation before returning the car to service. This matters on long Australian highway trips, busy city traffic and dusty bush tracks, where a marginal cooling system can be exposed to sustained heat or loose debris.
Compare servicing options and build reliable records
A DIY service suits an owner with the correct manuals, suitable tools and a safe way to drain and capture the coolant. A specialist cooling-system service may be more practical if the engine bay is tightly packaged, the radiator is difficult to access or previous repairs have left the routing unclear. Whatever route is chosen, record the hose part numbers, clamp positions, coolant quantity and observations made while the system was open.
| Approach | Best suited to | Main benefit | Main limitation |
|---|---|---|---|
| Targeted hose replacement | A recently serviced system with one failed hose | Fast, economical repair | Does not remove old coolant or hidden debris |
| Full drain, flush and hose renewal | A neglected or modified cooling system | Restores fluid condition and checks accessible components | Requires time, correct routing and careful bleeding |
| Workshop cooling-system service | Cars with complex modifications or access problems | Access to specialist tools and diagnosis | Labour cost and less direct owner involvement |
Archive the photographs, factory references and service notes so the next owner can see what was replaced and how the system was assembled. Once cooling operation is stable, verify the engine-management sensors before considering a PowerFC tuning guide; airflow, fuel delivery and ignition changes should never conceal a cooling fault. Choose the correct FD3S hoses, flush the circuit properly, document the work and complete a full heat-cycle check before the car heads out for its next long drive.