
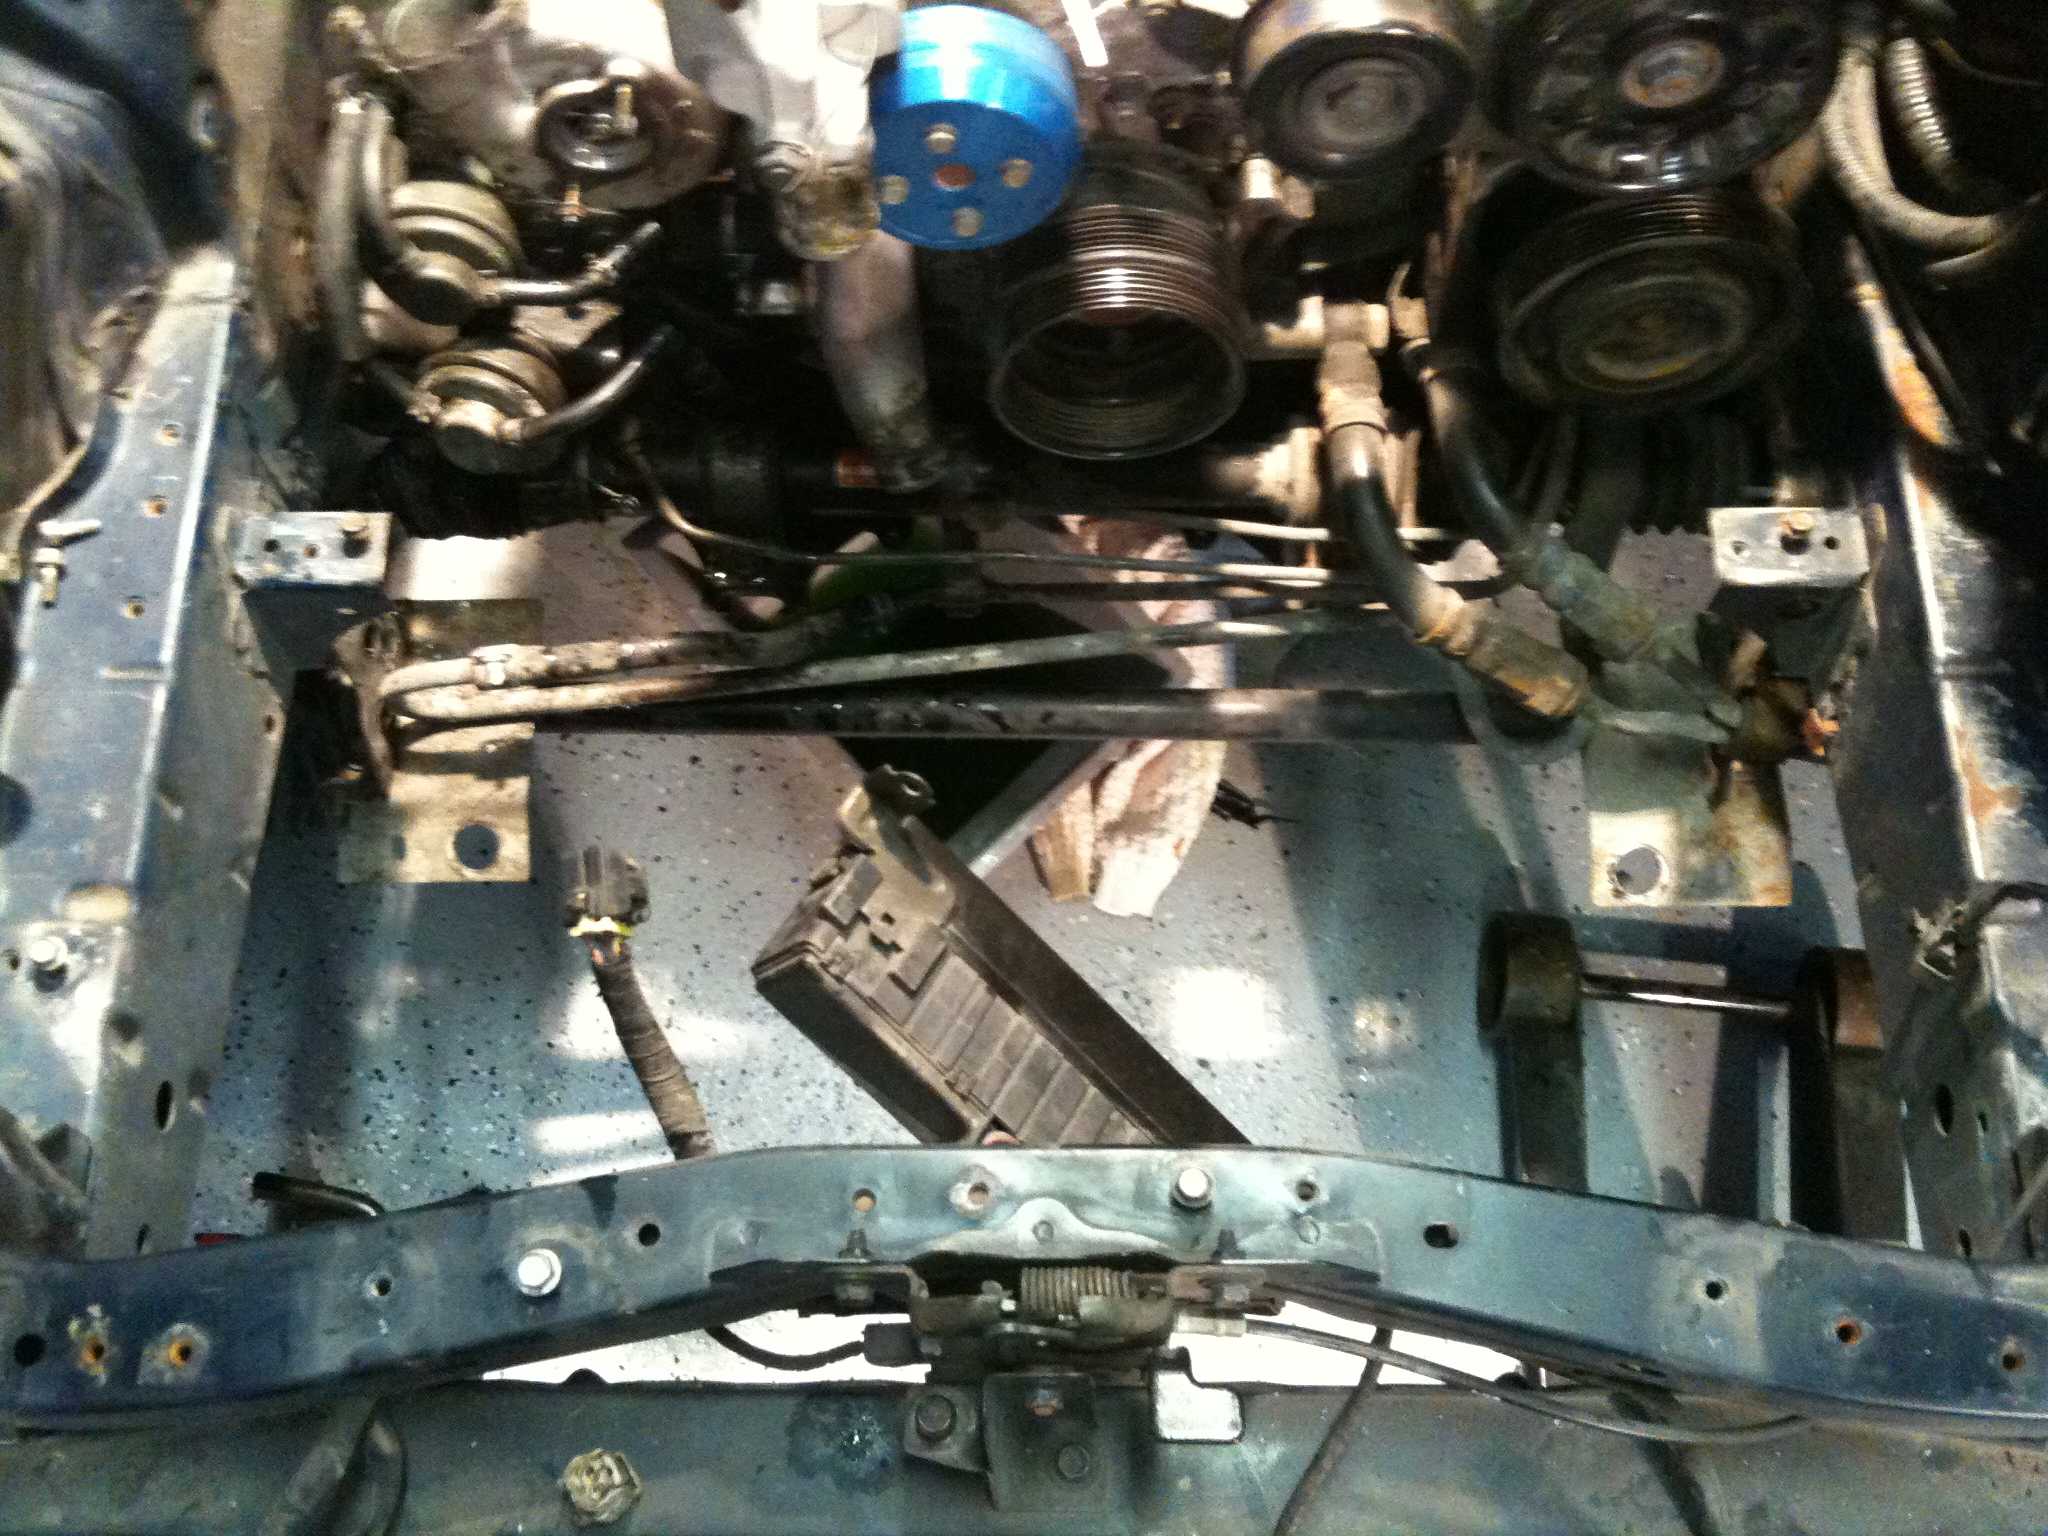
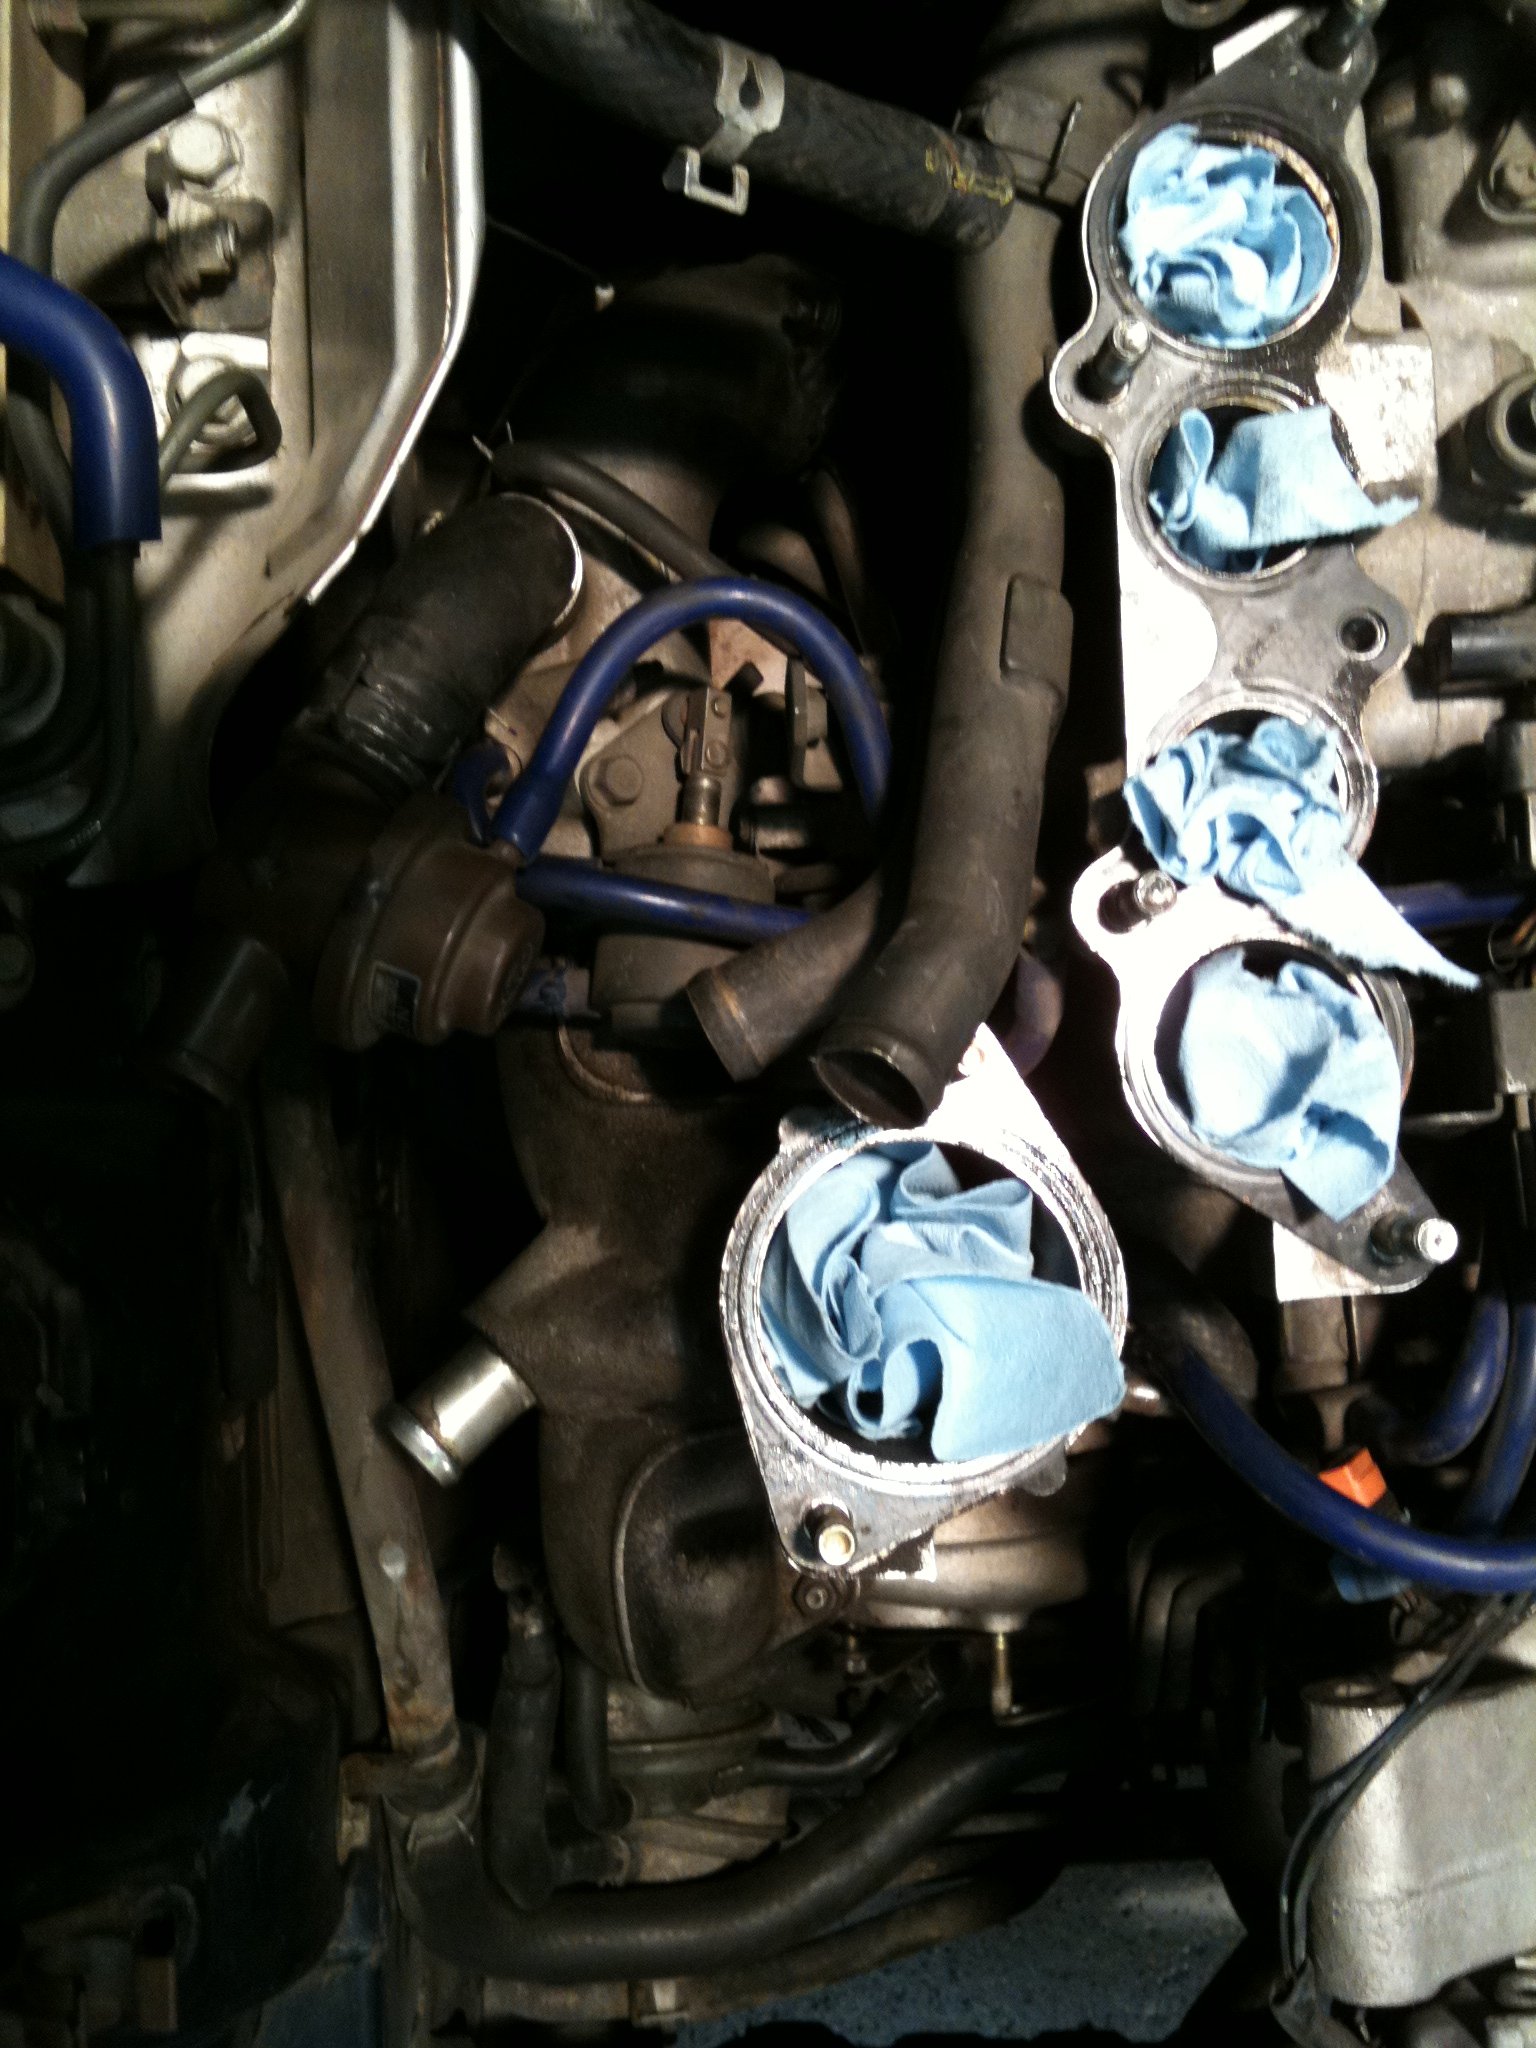
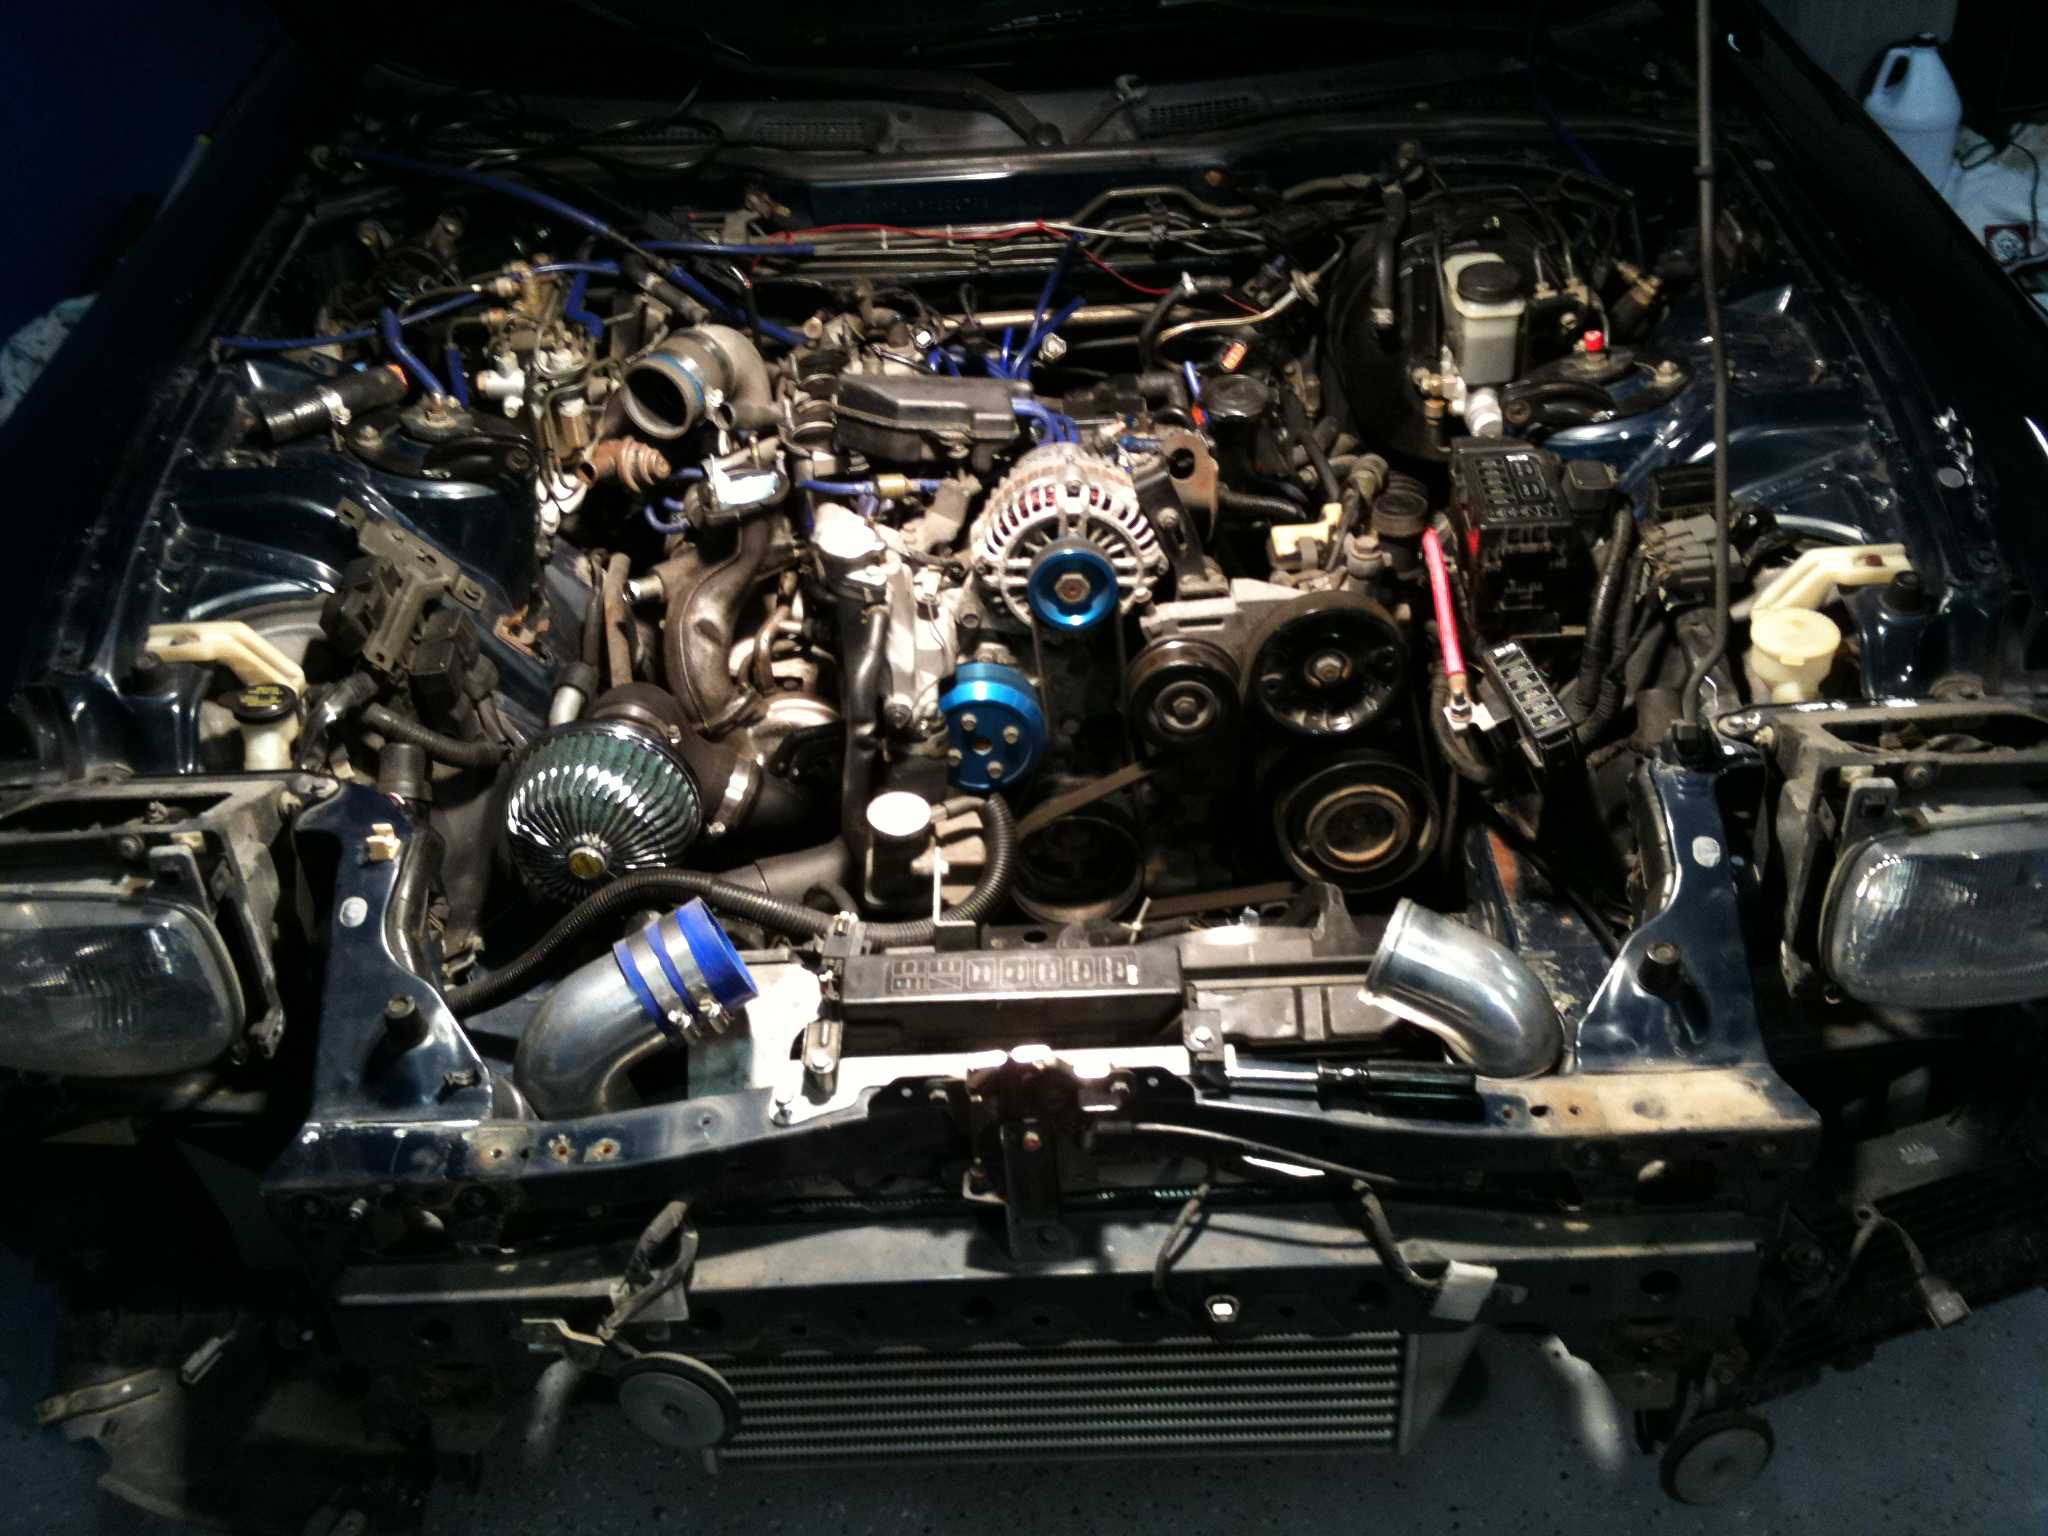
Upgrading the FD3S starter ground wire and connectors
An FD3S starter can be perfectly healthy and still crank slowly because cranking current is being lost through a corroded earth connection. Upgrading the starter ground wire and connectors gives the motor a cleaner return path to the battery and makes diagnosis far less frustrating.
The work concentrates at the starter casing, the engine ground point and the battery negative terminal. The 13B rotary stays in the car, but access differs between Australian right-hand-drive cars and left-hand-drive imports, especially around the battery loom, airbox and adjacent bodywork.
Factory documentation helps identify the correct connection point before parts are removed. Measurements matter more than cable diameter alone: a loaded voltage test can expose a bad joint before a starter is condemned or expensive components are ordered.
Enthusiasts in Melbourne, Sydney and Brisbane often combine workshop manuals, known-good used parts and careful electrical checks. The finished repair should remain dependable through hot summers, wet coastal trips and the occasional flooded road.
Diagnose the starting-system fault
Start by separating a starting fault from a battery or ignition fault. A fully charged, rested battery should measure around 12.6 volts, while voltage that collapses during cranking points towards excessive cable or joint resistance rather than a weak starter motor.
For a loaded test, set a multimeter to DC volts and measure between the negative battery terminal and the starter casing while the engine cranks. A reading below 0.2 volts is excellent; 0.5 volts or more signals substantial loss. Do not change PowerFC knock thresholds to compensate for a poor cranking supply, because ECU settings cannot repair a high-resistance connection.
Trace the factory ground path
Trace the fitted earth route on your particular car, using the service manual and loom layout rather than assuming every series is identical. On many FD3S models, current returns from the starter casing through a mounting strap and the engine or chassis grounds. A new wire is only as good as the path feeding it.
Inspect the battery-to-body strap, engine-block studs, nearby body seams and any aftermarket alarm or immobiliser earth points. Green corrosion, a loose washer or a painted stud can create more resistance than the starter motor itself. Disconnect the battery negative before disturbing these joints and reconnect it last.
Choose wire and connectors
Use short, flexible stranded copper rather than single-core cable. A 10–16 mm² conductor is a sensible starting point for a short starter return, but length, heat and terminal design determine the safe rating. Match the ring lug to the stud and cable size, and use a proper crimp that compresses the copper strands without cutting them.
Choose corrosion-resistant terminals, adhesive-lined heat-shrink and a loom rated for engine-bay heat. Avoid alligator clips and generic bullet connectors for the main battery-to-starter run. A broader marketplace such as used automotive parts can help locate donor starters or unusual terminals, although freight, GST and local availability may make an Australian supplier cheaper.
Compare practical ground upgrades
The sensible option depends on where the measured loss occurs. Keep the factory engine ground in place, especially with engine-management electronics, and improve the weakest link rather than replacing every component blindly.
| Upgrade option | Where it helps | Main limitation |
|---|---|---|
| Factory starter grounding strap | An original system with low measured voltage drop | Aged terminals or undersized wire can restrict cranking current |
| Fresh, larger starter grounding strap | Most FD3S upgrades with access to a clean starter or engine stud | Improves the starter return but does not repair poor battery or body grounds |
| Dedicated battery-negative-to-starter cable | Severe loss, a long original path or additional accessory load | Requires secure routing, correctly rated lugs and retention of the original engine ground |
Most FD3S starters benefit from restored main grounds and a fresh starter grounding strap. A dedicated battery-to-starter cable can solve a persistent drop, but it needs careful routing and correct lugs.
Install the new ground safely
Fit the new cable with the battery isolated. Remove paint and corrosion from the grounding stud, fit the correct washer and terminal, and tighten the fastener to the specified value. At the battery, use a clamp with a dedicated bolt for the extra lug rather than sandwiching the cable under the clamp.
Keep the run short and away from the throttle body, intake and hot exhaust components. Secure it against vibration without chafing the insulation. Private owners can modify their own cars in Australia, but the vehicle must remain roadworthy; any battery relocation also needs proper restraint, spill control and compliance with state inspection requirements.
Protect the connection from heat and moisture
Rotary-engine bays need protection from heat, vibration and moisture. Adhesive-lined heat-shrink helps during assembly, while a suitable loom or self-amalgamating tape adds resistance to abrasion. Keep terminal hardware clear of water traps and inspect the battery clamp during routine servicing.
Clean the starter casing and ground stud with a wire brush or suitable contact cleaner, then protect bare metal with an approved corrosion inhibitor. In coastal areas, check for salt residue early. Replace heat-damaged insulation or discoloured terminals rather than hiding the damage beneath fresh tape.
Verify the repair and document the result
Repeat the loaded voltage test after installation. Ideally, the starter-casing-to-battery-negative reading remains below 0.2 volts through a full crank, with no unusual clicking or cable movement. Also check charging voltage and battery condition so a marginal battery is not mistaken for a wiring fault.
Record the readings, part numbers and terminal dimensions in the service history. If cranking remains slow with a small voltage drop, inspect the starter motor, solenoid and battery separately. That prevents a good ground upgrade from masking another electrical problem.
Use the VIN and build details in OEM production information to confirm the original ground route, then order matched cable and terminals before starting work. Keep the diagram and before-and-after readings with the manual; they provide a dependable reference for the next service.