
Repairing FC3S Turbo II wiring harness common failure points
Mazda's FC3S Turbo II arrived in Australia as a right-hand-drive legend, and surviving chassis in Sydney, Melbourne, and Brisbane workshops carry the scars of three decades. The factory wiring loom is one of the most failure-prone assemblies on these cars, especially in salty coastal air and our harsh UV index. Owners chasing original factory documentation are increasingly aware that a tired loom can mimic far more serious mechanical issues.
This guide covers the wiring harness faults most commonly encountered on Australian-delivered FC3S Turbo II models, from connector oxidation to chafed insulation near the firewall. Whether you are diagnosing an elusive sensor signal or refreshing a track-day build, understanding loom failure points saves time and money. Most repairs are achievable with patience, quality weather-correct terminals, and a wiring diagram sourced from Mazda's original service manuals.
Anatomy of the FC3S Turbo II wiring loom
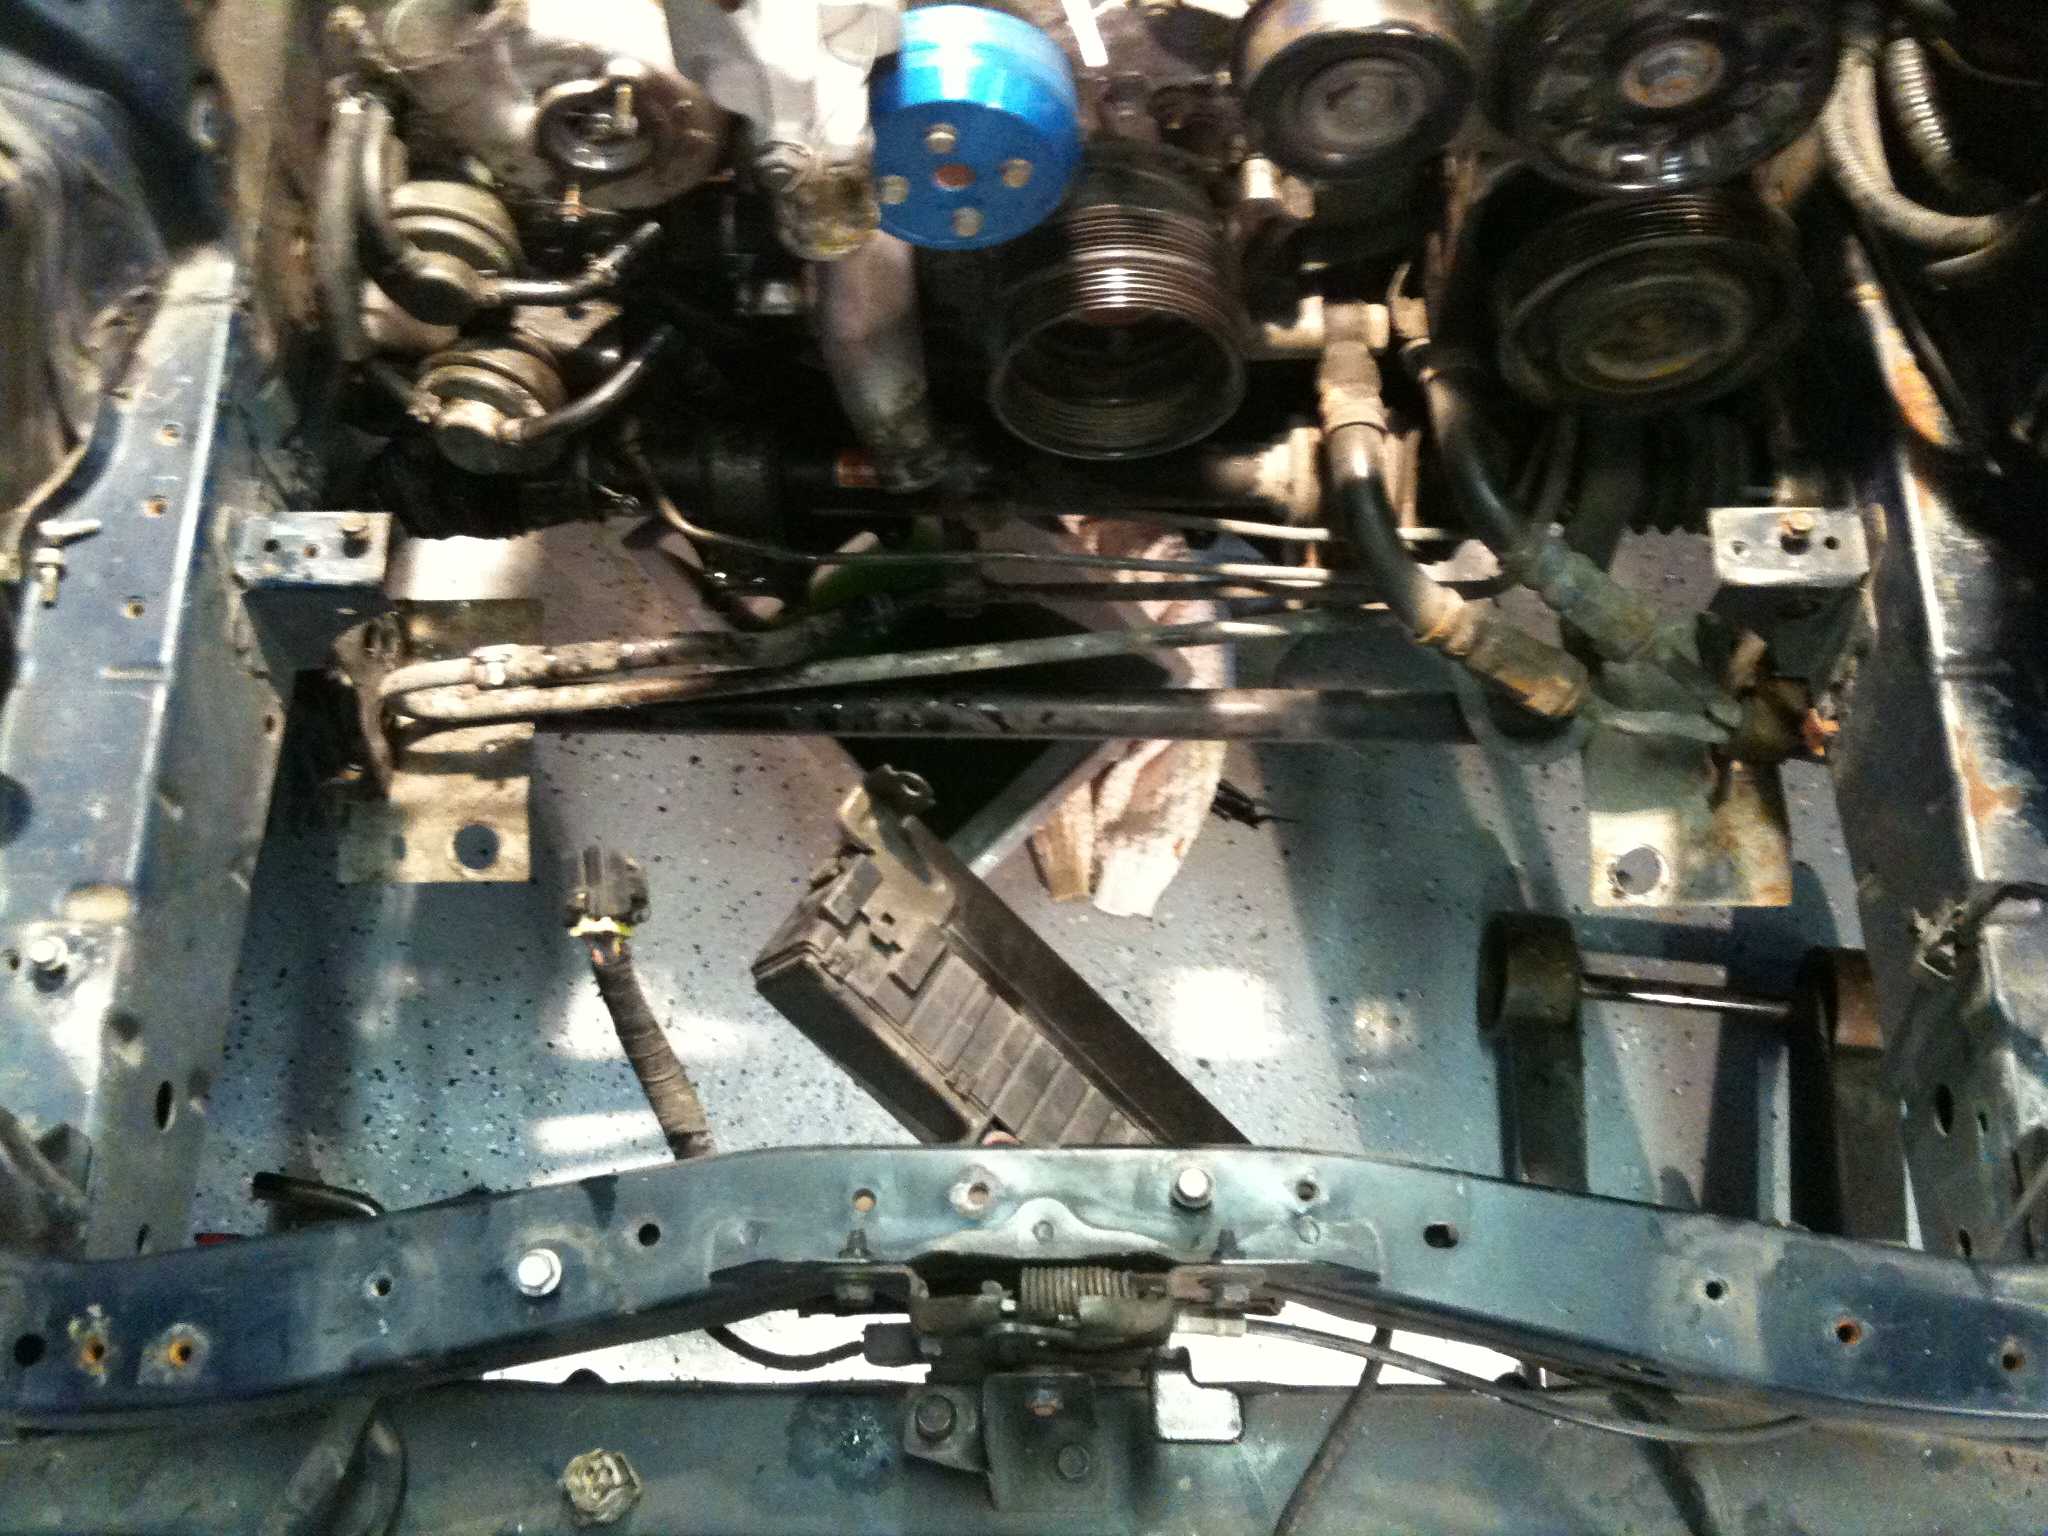
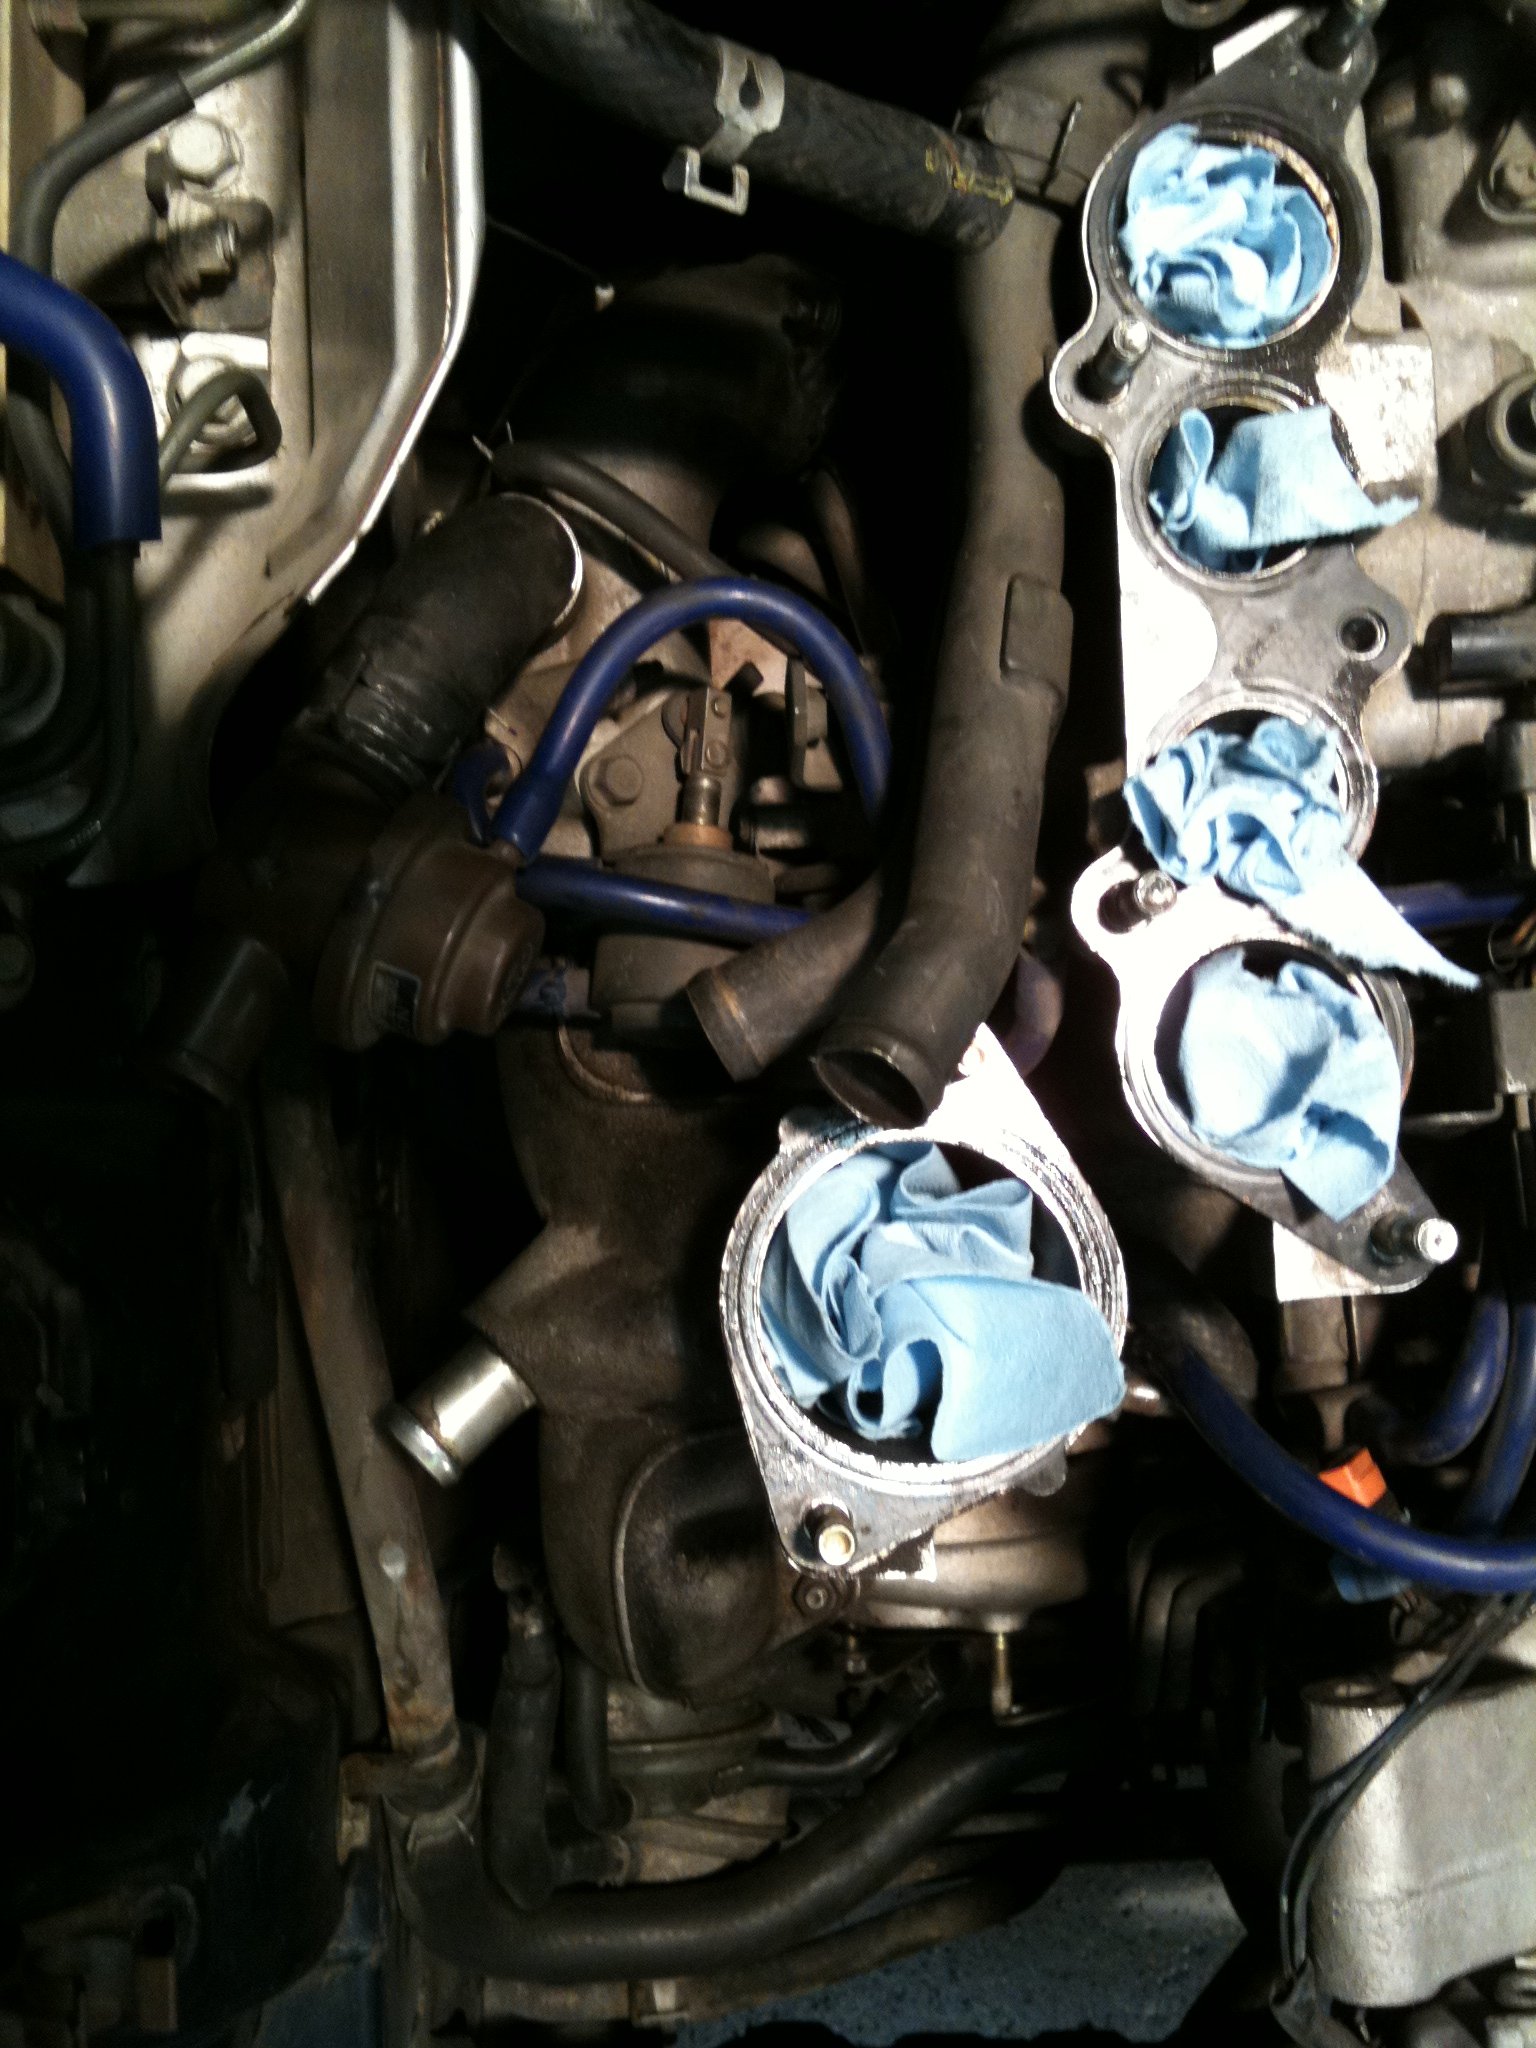
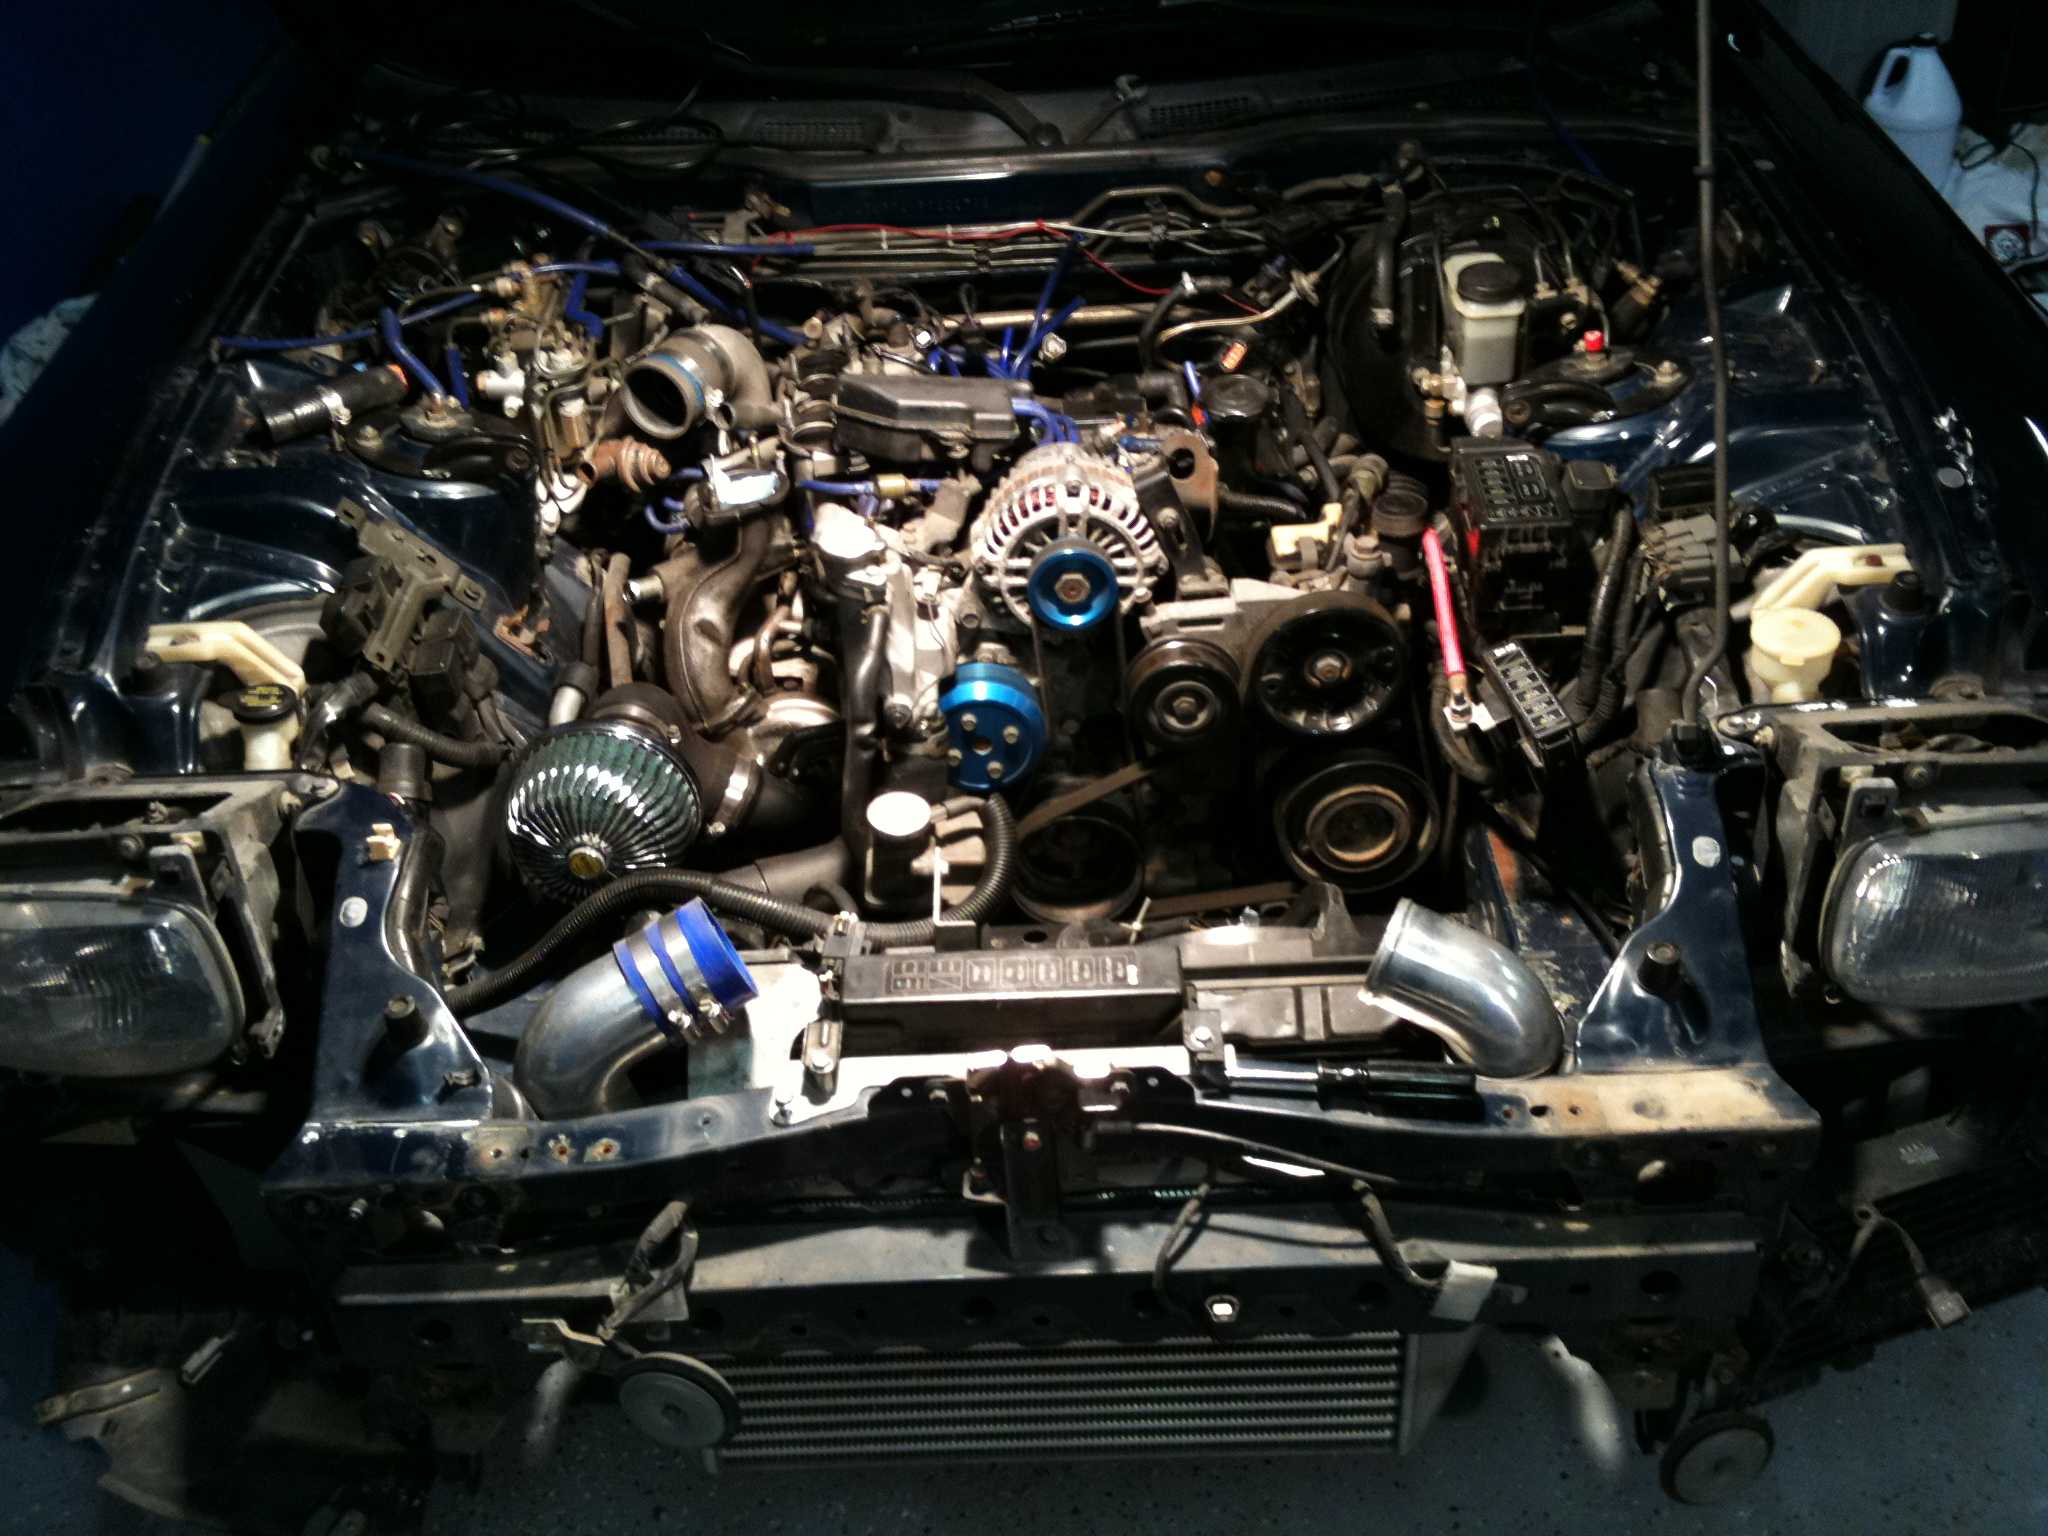
The FC3S Turbo II harness routes power, signals, and switched earths through roughly five sub-looms: engine, dashboard, rear, door, and the front-to-rear body loom. In Australian-spec cars, the engine bay loom sits closer to the radiator than in some JDM variants because of the factory air-conditioning package and the position of the charcoal canister. Heat cycling near the turbocharger and the factory heat shield is relentless, cooking the PVC outer jacket until it goes brittle and flakes off.
Within the engine bay sub-loom, the most vulnerable conductors feed the 13B engine sensors, the injectors, and the ignition coils. Mazda split these into a single injection harness and a separate ignition harness, joined near the fuse box. The split helps serviceability but also means there are three high-resistance joins in the engine bay where moisture can wick into copper strands and start the green-oxidation process we see so often. Climate-controlled garages in Adelaide or Hobart help, but most FC3S lived outside under a tarp in suburban Sydney for years.
Identifying common failure points
The earliest symptom is usually an intermittent fault code on the factory ECU. An owner in Brisbane might notice the car runs beautifully on a cool morning, then throws a code for the air-fuel ratio sensor once the engine bay heats up. This is the classic heated-loom fault: copper expands, the brittle insulation cracks, and the signal wire briefly shorts to earth. The same pattern shows in the leads to the idle-air-control valve, the water-temperature gauge sender, and the factory turbo timer.
Knowing the exact build year of your FC3S helps pinpoint which harness revision you have on the car, and the VIN guide for SA22C models walks through how to read the chassis plate. Another widespread failure point is the section of loom that runs along the passenger-side inner guard. Decades of bonnet-prop vibrations cause the loom to rub against the factory bracket near the suspension tower. Once the outer sheath wears through, the underlying wires are exposed to road grime and, in coastal suburbs like Coogee or Scarborough, salt mist. By the time you trace a sensor fault to this area, three or four conductors are usually corroded.
Connector and terminal repair
Repinning connectors, terminals, and plug bodies is the heart of any harness repair. Genuine Mazda connectors are no longer available new, but quality weather-correct aftermarket terminals from Japanese and Australian suppliers fit perfectly. The key is to never use a cheap crimp-and-tape joint in an engine bay that sees 90 °C under-bonnet temperatures in summer; instead, solder, shrink-wrap, and re-seal each joint. Glue-filled heat-shrink with adhesive lining gives a moisture-proof seal that will outlast the rest of the loom.
For the round multi-pin connectors behind the glove box and near the ECU bracket, a small pin-extraction tool is essential. Owners in Melbourne workshops often keep a set of Mazda-specific extraction tools for the 13B rotary looms, since a damaged pin socket will give intermittent contact even when the plug feels fully seated. When reassembling, dielectric grease prevents the green copper chloride that wrecks so many Australian harnesses.
Ground and earth point restoration
Chassis and earth points are silent failure points on an FC3S. There are at least seven earthing straps on a Turbo II: from the engine block to the chassis, from the firewall to the body, and one behind each headlight pod. Corrosion at these straps causes flickering headlights, erratic idling, and phantom injector pulses. Many first-time restorers chase sensors for weeks before realising the engine-to-chassis strap behind the intake manifold has rotted away. For owners running an aftermarket Apex'i PowerFC or similar ECU, a poor earth is even more punishing, as the unit struggles to read clean signals.
Removing, cleaning, and re-terminating these straps is straightforward: unbolt, sand back to bare steel, apply a thin film of copper grease, and re-torque. Pay particular attention to the earth point on the rear of the intake manifold, which on Australian-delivered cars sits directly above the air-con line and collects condensation. While you are there, check the earth strap behind the passenger-side kick panel, which often hides under a carpet that has been wet for years.
Heat and vibration damage in the engine bay
The single biggest killer of an FC3S loom is heat, closely followed by vibration. The factory routing for the bundled relays and the cooling-fan harness places them directly above the catalytic converter heat shield, where temperatures can exceed 120 °C on a 38 °C Adelaide day. Over time, the PVC sheath hardens, splits, and exposes the copper. Refreshing the loom means re-routing the harness along the inner guard, securing it with new P-clips, and adding a reflective foil wrap where it passes near the turbo downpipe.
Vibration damage tends to appear at the joins between sub-looms, particularly the firewall grommet where the engine loom passes into the cabin. Australian roads, especially the corrugated gravel of outback New South Wales or the rough chip-seal of country Victoria, shake these joins loose. When you have the dashboard apart, replace the grommet and add a small service loop so the harness moves slightly with engine torque rather than pulling against the connector body. With the cabin already open, it is also worth checking the sunroof seal and glass, since sunroof glass replacement follows a slightly different process from a windscreen swap.
Sourcing parts in the Australian market
Local realities shape how we repair FC3S looms. Coastal cities like Sydney, Brisbane, and Perth expose harnesses to salt air that accelerates copper oxidation, while inland centres push under-bonnet temperatures beyond 100 °C on summer afternoons. Right-hand-drive factory wiring diagrams differ from JDM and USDM versions in subtle but important ways, particularly around the headlight pods and the factory turbo timer wiring, so always work from Australian-delivered service manuals. Local enthusiast networks, including the various state RX-7 clubs, often have NOS harnesses for sale or know which machines have already been parted out.
Decoded chassis numbers help match a replacement loom to a specific year, and for builds chasing more cooling alongside the wiring refresh, understanding intercooler sizing for rotary helps you spec the rest of the package while the harness is still on the bench.
Strip, label, photograph, and rebuild. A patient weekend with quality weather-correct terminals, a wiring diagram, and a few good local coffee stops will reward you with a harness that lasts another thirty years on Australian roads.